
Ace's Fermentation Chamber Build Thread
-
This thread will be used to document my fermentation chamber build that I performed last year.
-
I'm in the process of switching from extract, basement-ambient-temp brewing to all-grain, controlled-temp brewing. I'm currently working on constructing the fermentation chamber.
The outside dimensions of the chamber are 48" x 48" x 43". I plan to add approximately 3.5" of rigid foam board insulation, which will then be covered with FRP.
The chamber will be kept at 60F and cooled utilizing a standard mini fridge. Here are some pics of the current progress. Next step is adding the insulation.

-
Progress on this has been very slow. Nothing has been done on the physical construction of the box. However, I was able to get my temperature control box completed. It's an aquarium dual-temperature controller from ebay.
Side view. Orange is the power cord. The small black wire from the side is the temperature probe. The outlet on the top is for the heater and cooler (one outlet per device).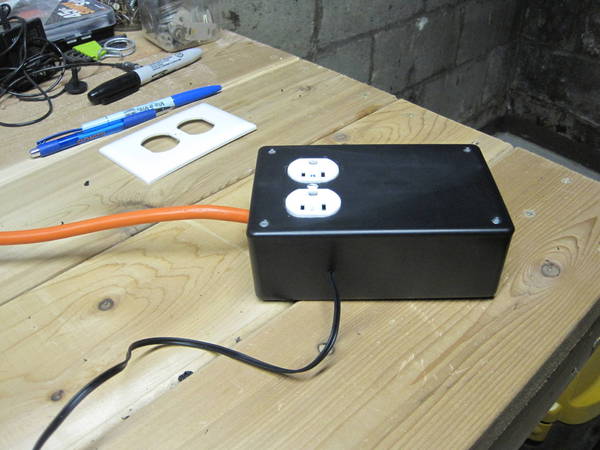
Front view.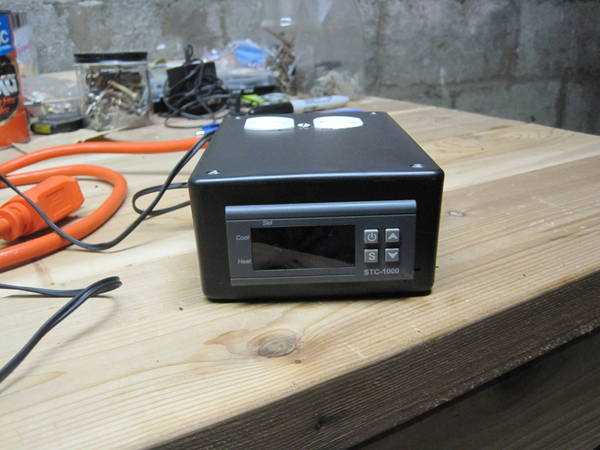
Front view with power. (Controller only displays in C, but that's what you get for a whole temperature control box under $30)
-
Picked up the insulation yesterday and was able to get it installed in the floor. More to do tonight. Will post pictures of the progress later tonight.
-
Made some good progress on the fermentation chamber build. I installed the 3.5" of rigid foam insulation in the floor cavity. I then installed a sheet of 1/2" plywood over that to provide added support for the fermenters.
I also installed the 3.5" of rigid foam insulation in the ceiling cavity. These two sheets (2" and 1.5") were installed using a paneling adhesive. They are currently clamped/supported and will be allowed to dry overnight. A pic of the current state below: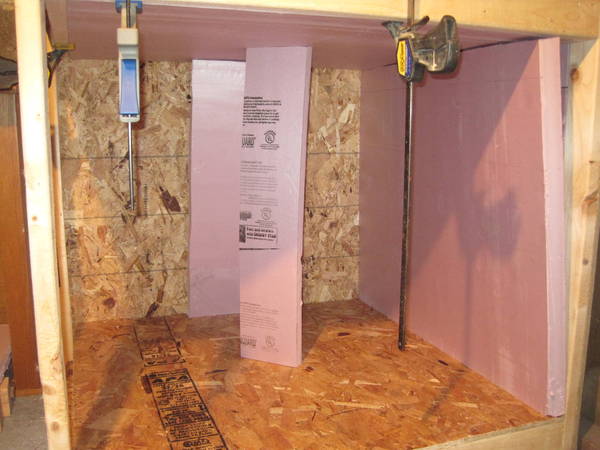
-
Progress has been made!!
Today I was at Target and saw that their mini fridges were on sale, so I picked one up and continued my build.
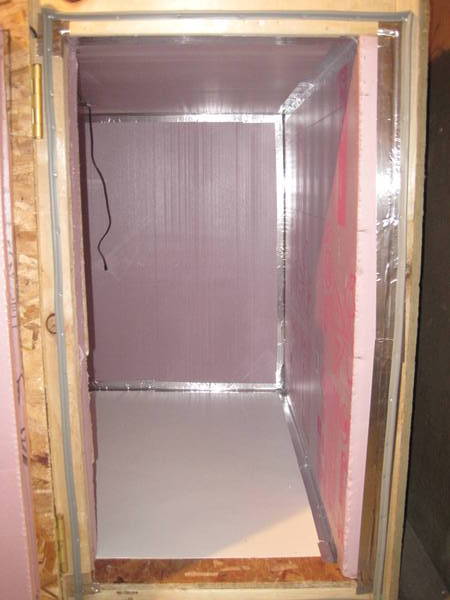
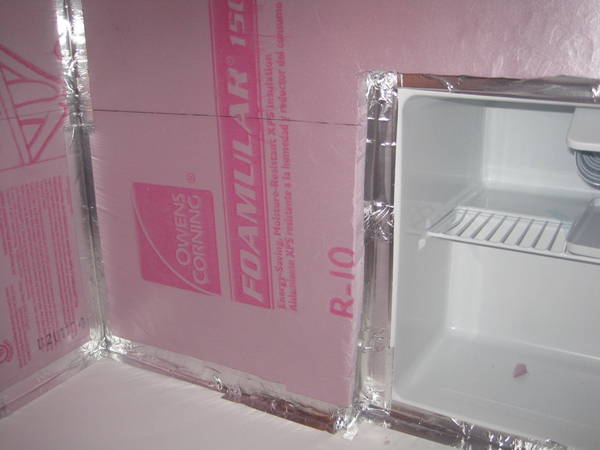
From this image, you can see that I've finished insulating the back wall and have started taping some of the seams with Aluminum Foil tape.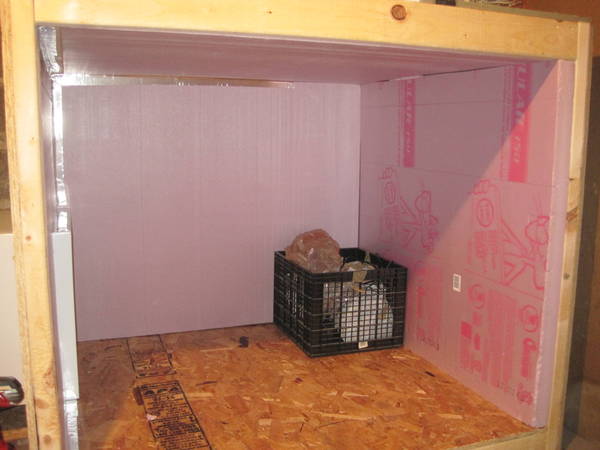
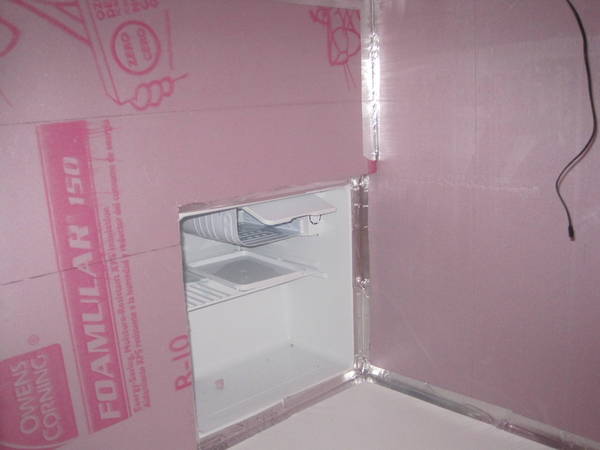
This shot shows the side wall with the mini fridge installed. This wall still requires the addition of a 2" thick piece of insulation.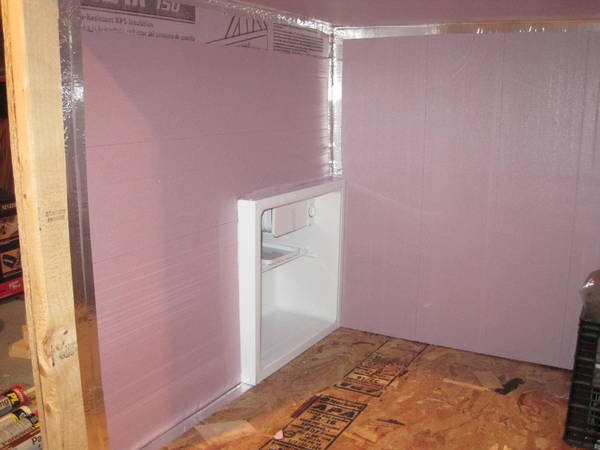
A side shot showing the mini fridge through the wall.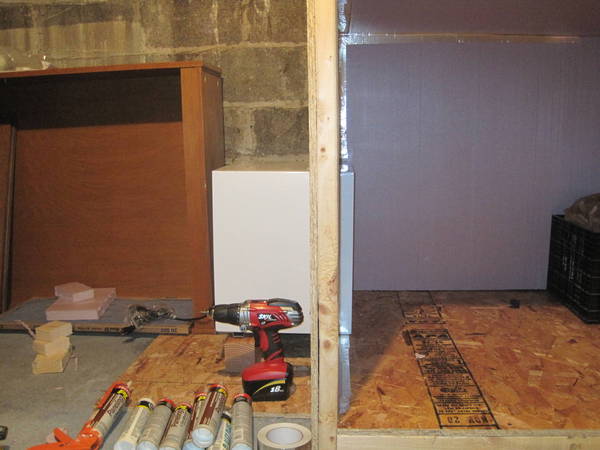
All that's left is the 2" side wall insulation, the fourth wall/door and its insulation and installation of the FRP flooring. Then the seams will be caulked and the chamber will be turned on.
-
The calculated heat load for the chamber (using conservative numbers) ranges from 50 to 100 BTU/hr depending on the temperature difference in my basement. The cooling capacity of the mini fridge is 232 BTU/hr. This gives me margin so that the duty cycle time is low for the unit.
-
I made some more progress tonight on the build. I finished insulating the wall with the mini fridge and was able to get the fourth wall/door installed. All that is left to do is the following:
1) Install remaining insulation on the fourth wall/door.
2) Install weather stripping around door seal.
3) Install locking/holding mechanism for the door.
4) Install FRP flooring.
5) Caulk/aluminum tape all the final joints.
The end is in sight. I can't wait to have this project finished.
(Unfortunately my wife is out of town and took the camera with her. I will post pictures of the current progress tomorrow night) -
Here are the pics of the fermentation chamber build.
A shot of the final insulation on the fridge wall: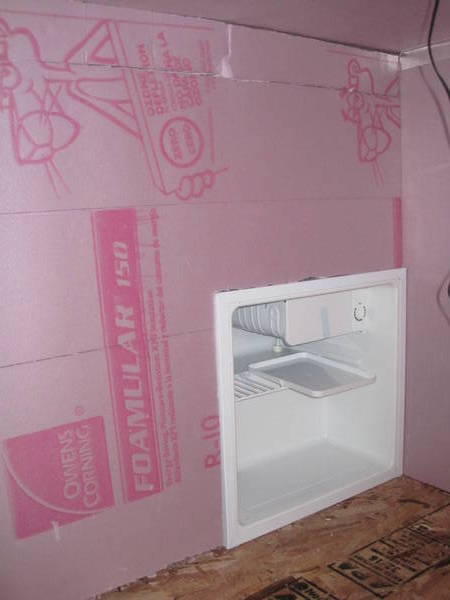
The final fourth wall, with door shut: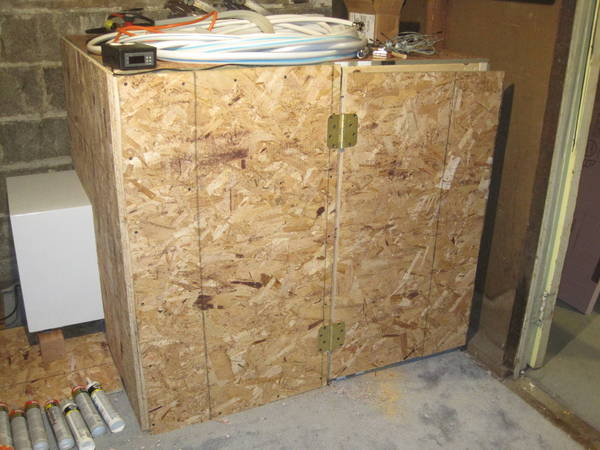
With the door open: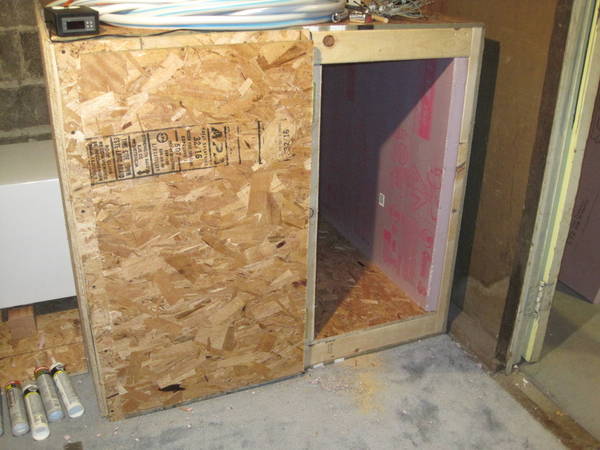
-
It's done.
Here are the final pics of it with the floor and all seams taped. It gets a test run tonight and then gets put into use with my brew session on Monday.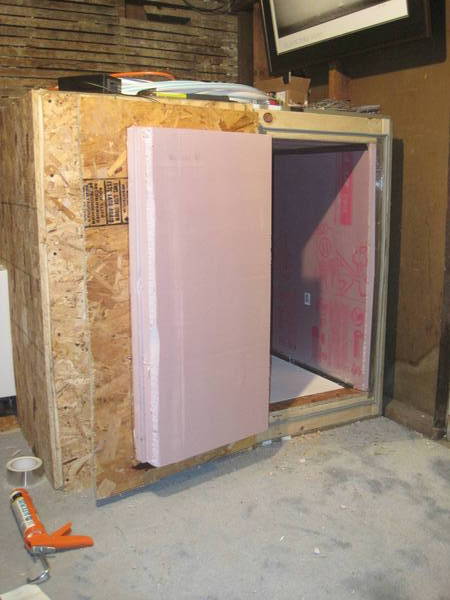
Also, one last bit of advice. When working inside the chamber (taping seams, caulking, etc.) never, ever fart. It's horrible, and it lingers. -
Here it is in action (though not really much more to see).
A shot of the fridge plugged into the controller and the controller plugged into the ceiling outlet.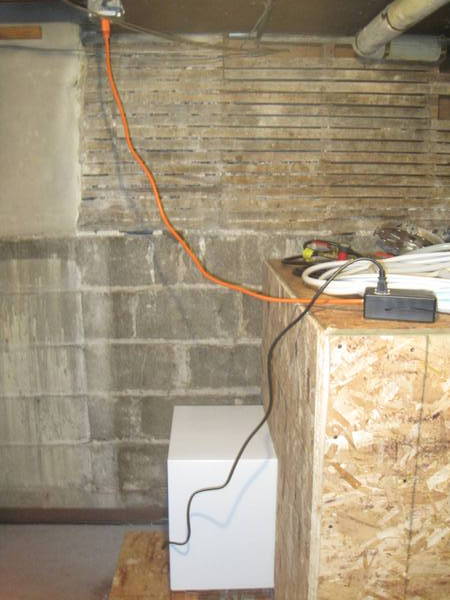
Here's the temperature controller display. Cooling down towards 16.0 C.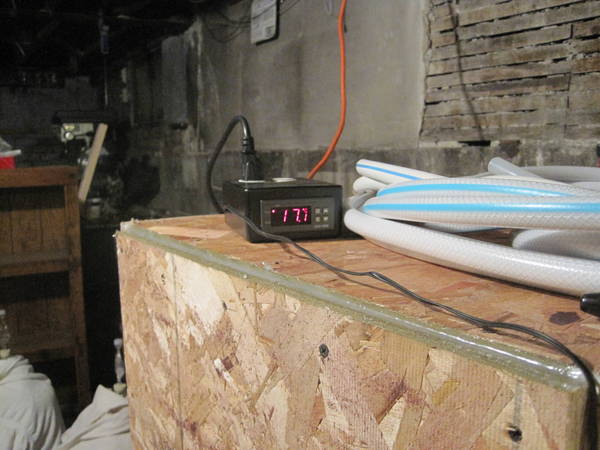
Here's a shot of the locking mechanism. There's a similar one on the bottom of the door.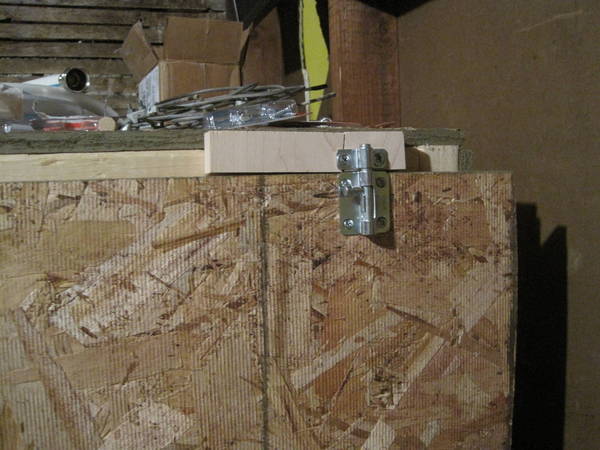
I tested it out with a 2 liter of ice prior to turning on the fridge. The 2 liter was able to cool the chamber from 22.3 C to 18.4 C and it was only half melted when I opened the door to turn on the fridge.
In the near future, I hope to get more accurate readings of when it cycles. For now, I've been noting the temps and status every 15 minutes or so. It seems that the chamber loses ~1 C/hr and that the fridge kicks on for 5-10 minutes to cool it 1 C. When I get the time, I'll post some better numbers.
There are no noticeable air leaks at any seams. I'm guessing this is a pretty good to standard cycle time for something like this, and would like to hear from any others with ferm chamber experience. -
that looks great.
the only thing i notice is that it is a large area with a small door. looks to hold 4 fermentation buckets, but it would suck trying to get them all in. maybe i am not understanding the scale right though.
i was thinking a hinged roof for easier take in and out?
either way, good work. -
It can easily hold 4 buckets or carboys, probably 5 if I wanted to crowd it up. The door is large enough to fit a bucket or carboy through. The FRP flooring allows for easily sliding the buckets and carboys wherever they need to go in the chamber. Easy peasy.
-
very nice build. I'd like to do a small walk in with similar construction, using a large room air conditioning unit to cool.The only thing between me and a train wreck is blind luck..... - Kenny
-
Looks sweet. What are you using to heat it if necessary? I have mine in the garage and winter has been troublesome to keep it warm. I am using a heating pad, but I have heard of other options.
-
Benvarine said:
Looks sweet. What are you using to heat it if necessary? I have mine in the garage and winter has been troublesome to keep it warm. I am using a heating pad, but I have heard of other options.
Reptile cable from a pet store.


