
thrifty grain mill build
-
This is the mill i've been using for almost a year now. It still works well and only cost me about $20 total to make.
It all starts off with one of these: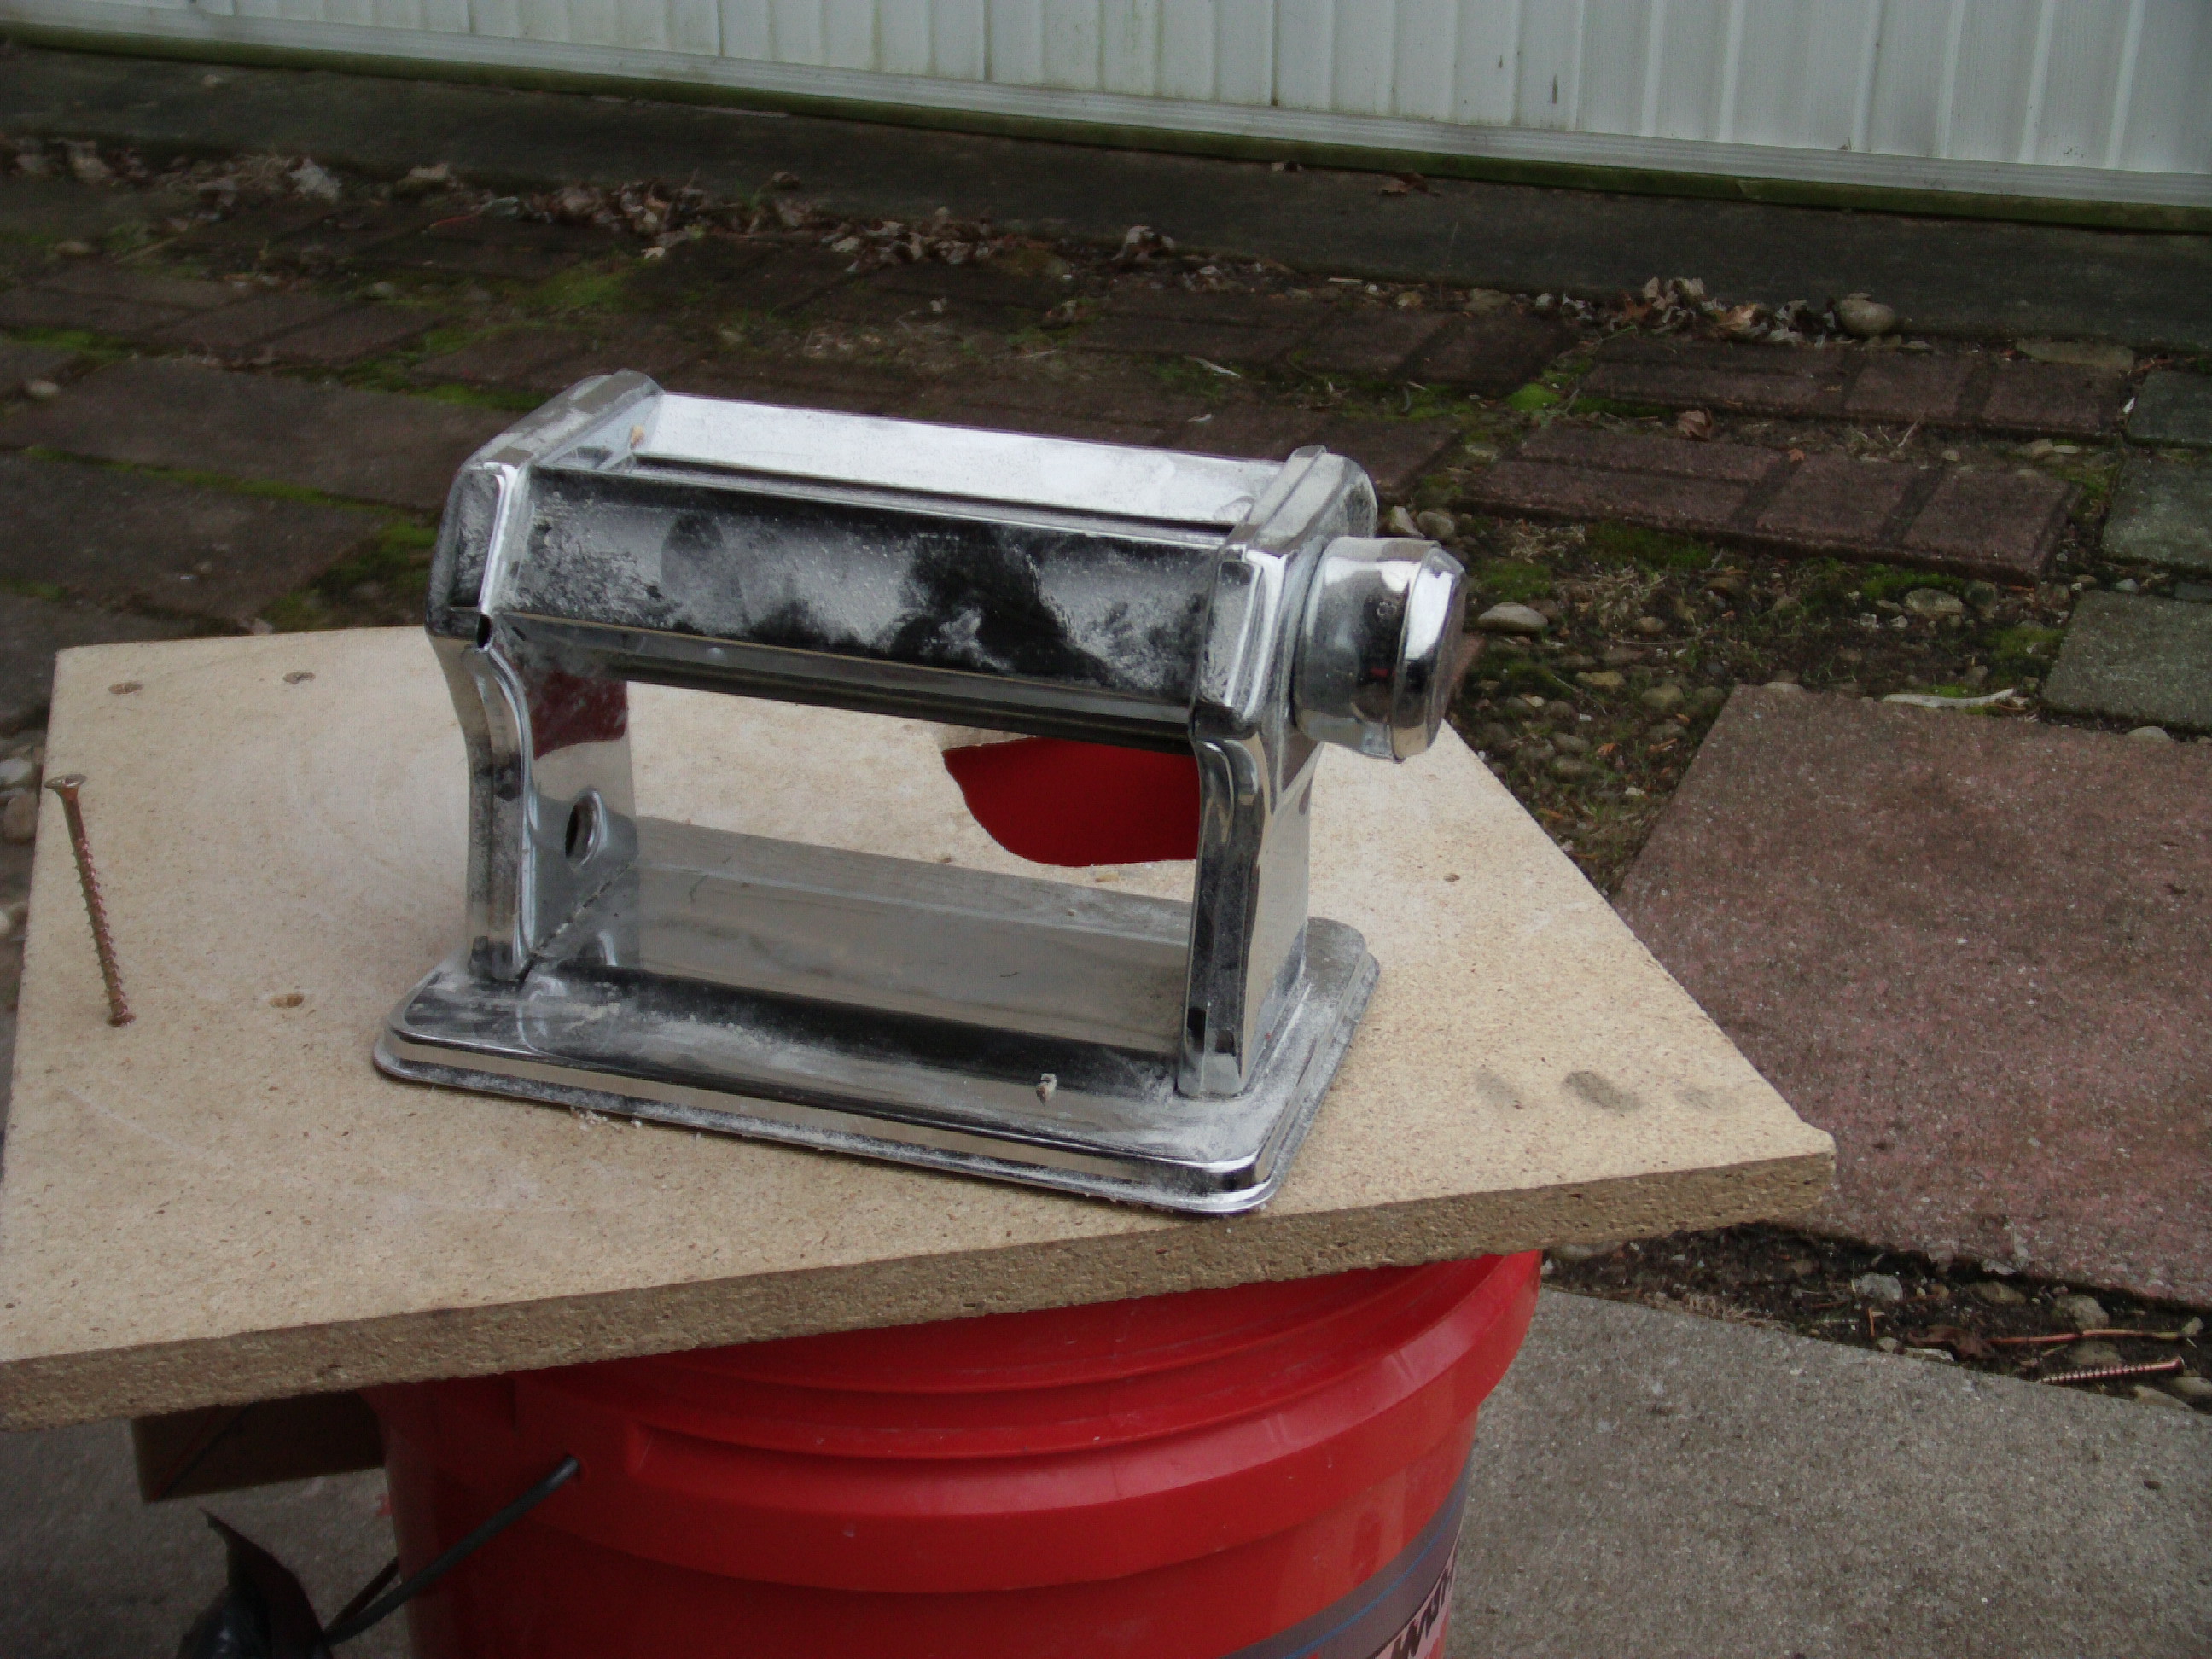
Note that i haven't made any modifications to the pasta roller apart from roughing up the rollers. I like to keep things pretty simple.
The first step is to rough up the rollers. If you could have them knurled, that would be ideal, but that's where the cost starts to get out of control. I used a tap bit to do the initial roughing up, but i gave it another pass with a dremel style bit. Anything that can gouge the surface material a bit would work fine (a file, saw blade, my wife's cooking, etc.)
After you have the rollers roughed up and cleaned (running a bit of grain or rice through will work fine), you're ready to mount that sucker. Let's start with a base. I used some crappy particle board I had lying around, just cut a hole where you want the grain to fall through:
Next come the sides. You'll need two holes in each side, one to accommodate the base and another for the crank port/width gauge.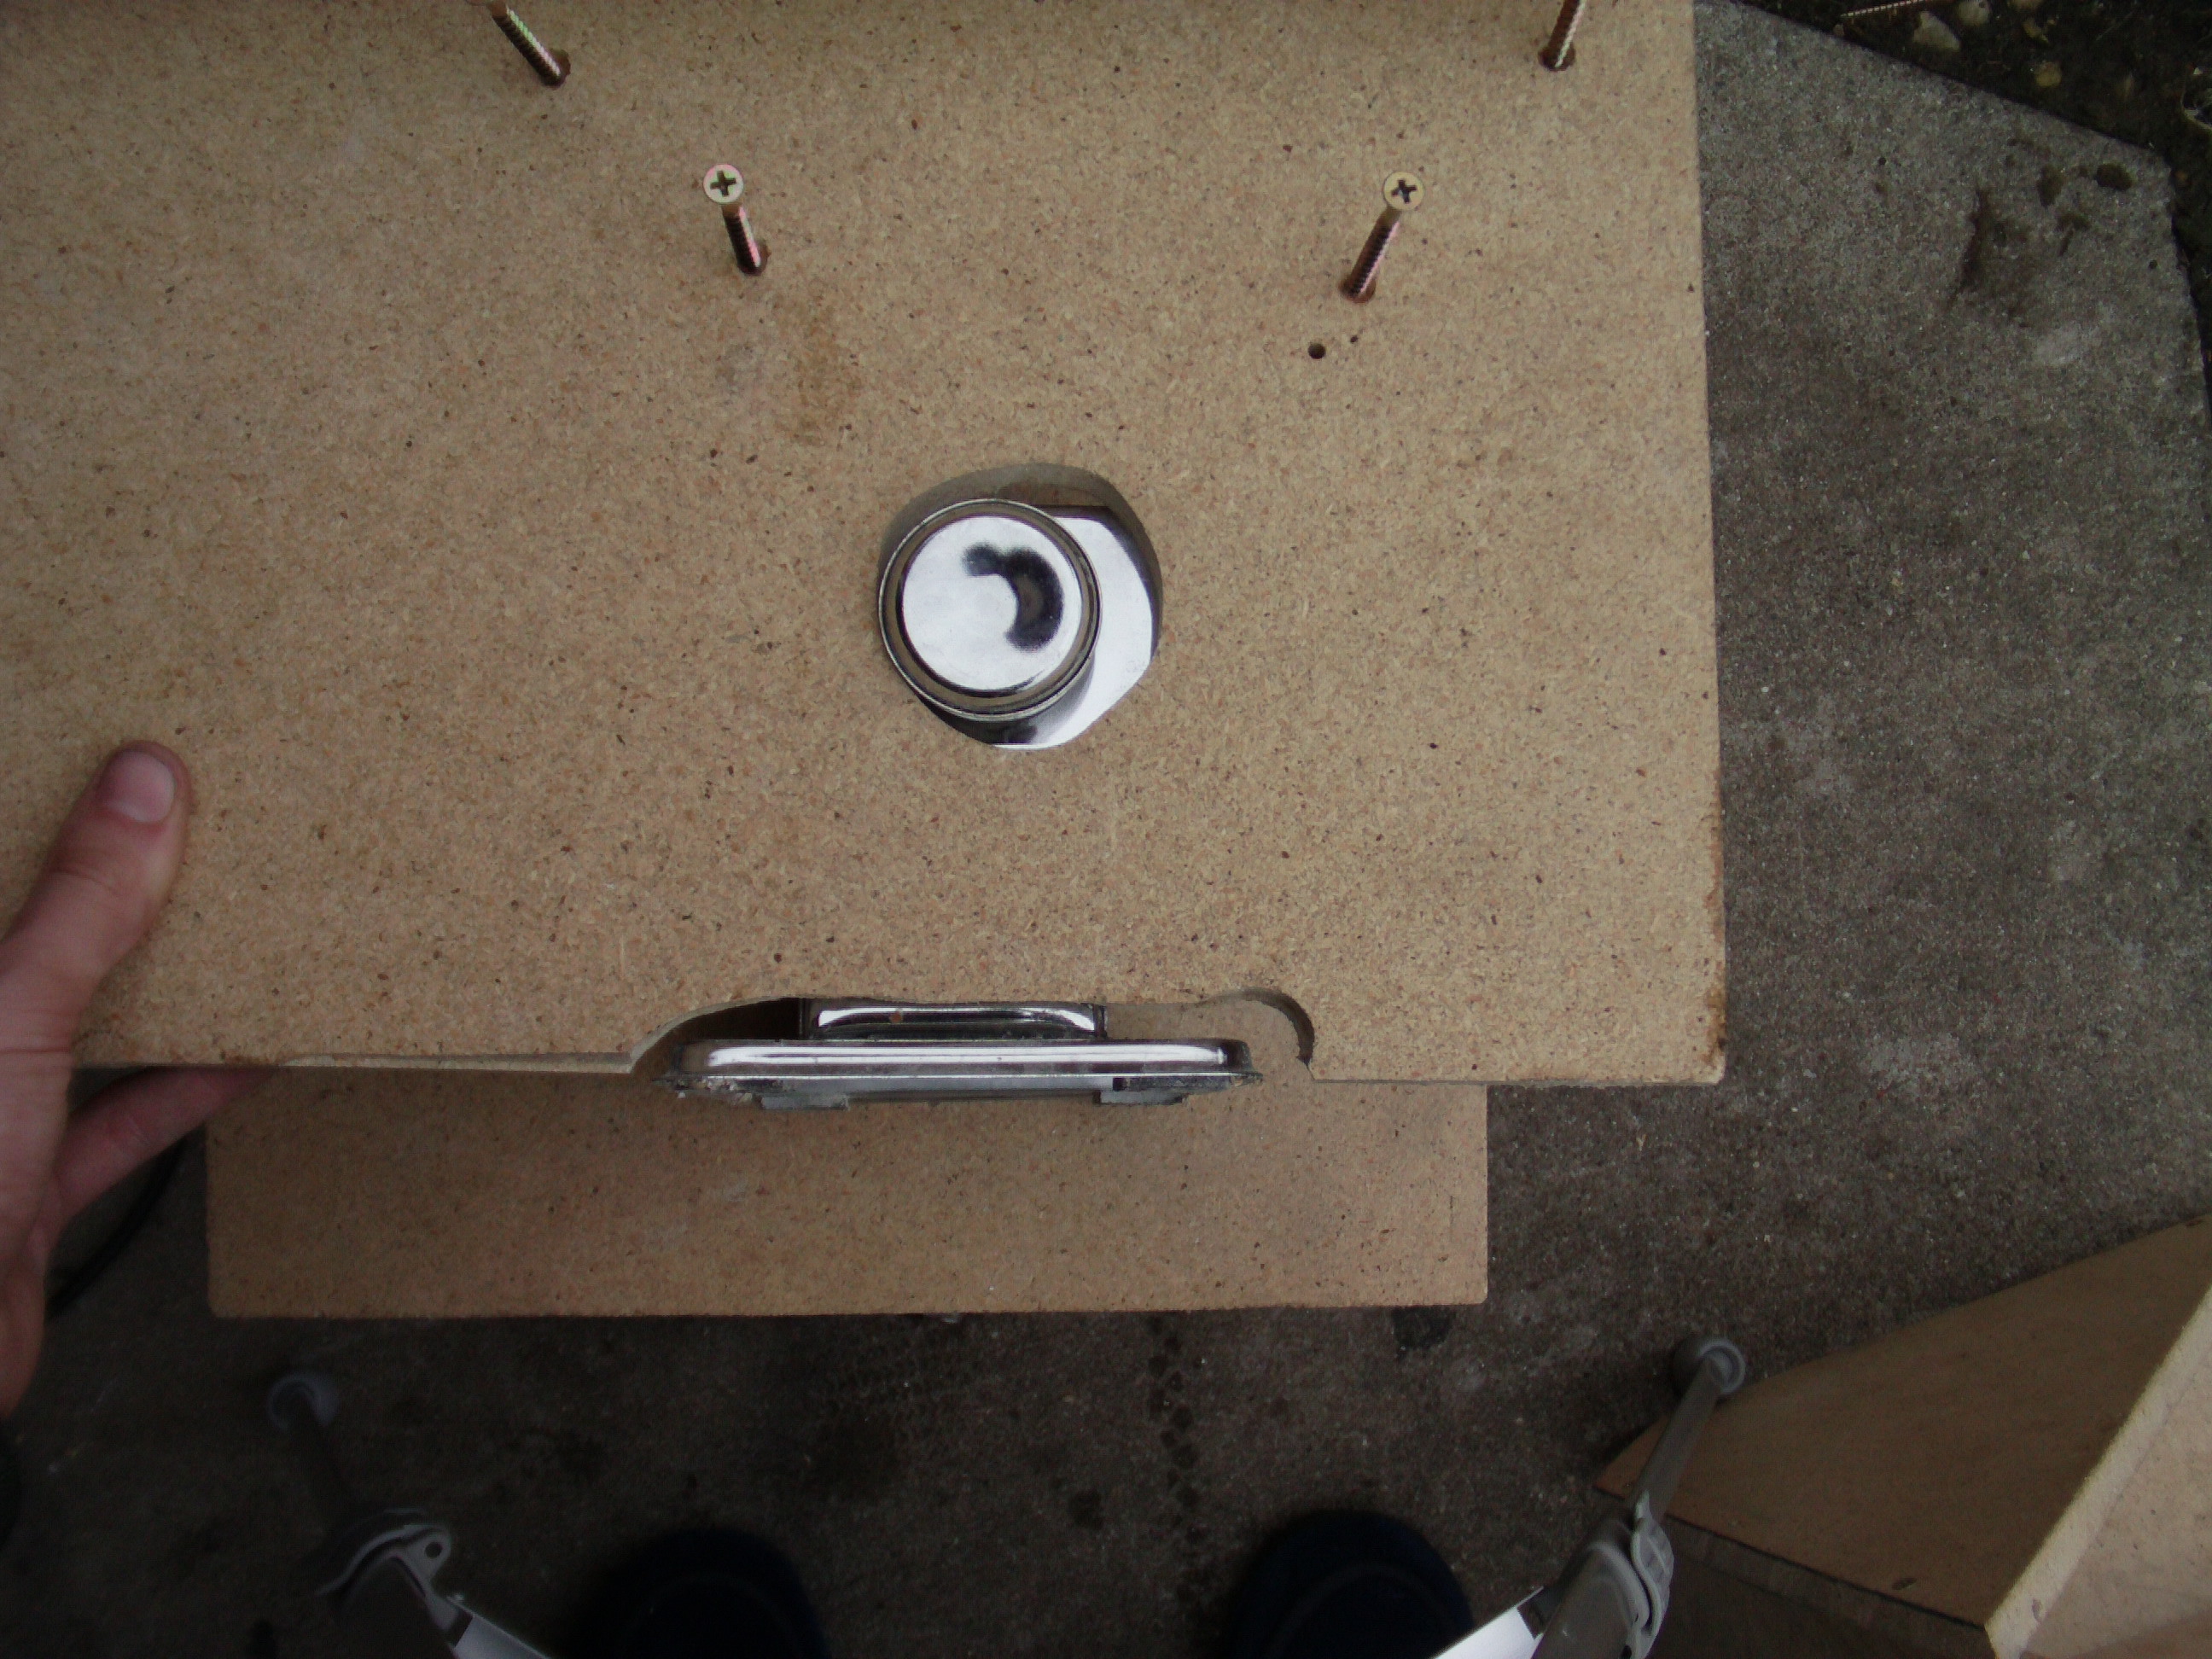
These two boards will be what hold the pasta roller on the base, so make sure it fits snug. I attached them with a couple 2" screws as shown here: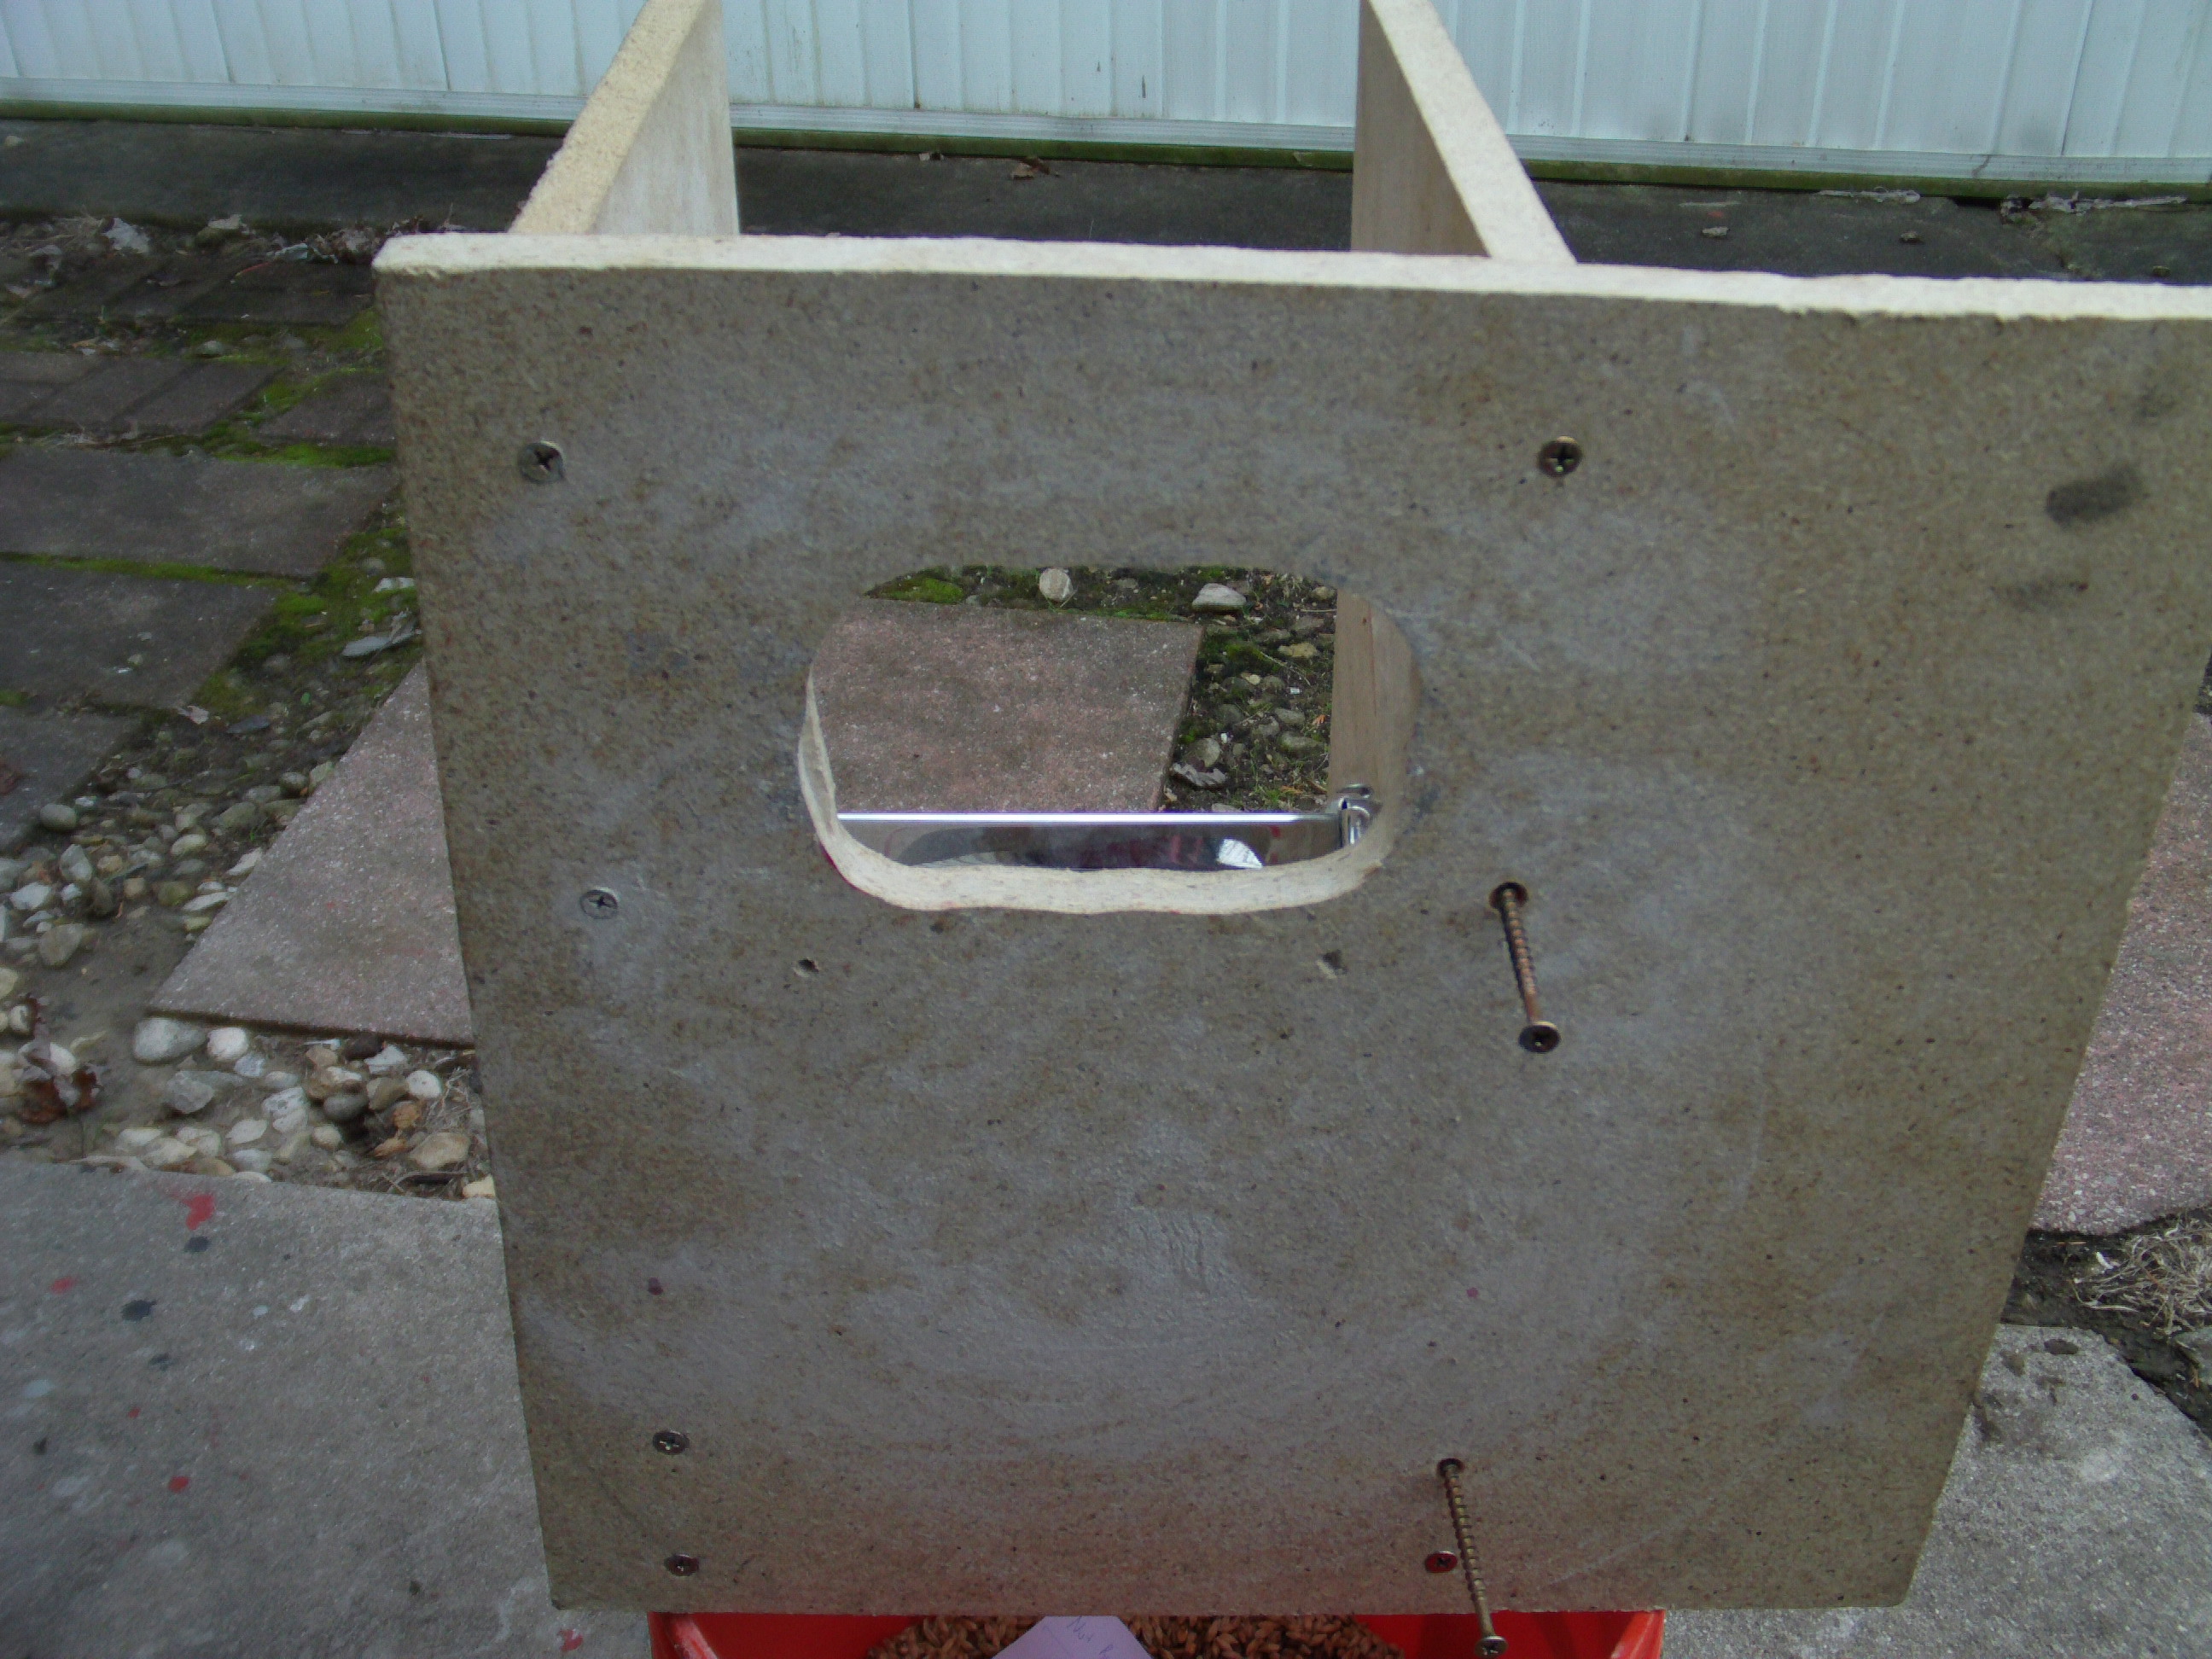
Once you have the roller in place and the sides attached, you need a hopper. I chose a straight sided v shape for mine. In retrospect, I should have made it larger or done the angled cuts I was avoiding so it would be more pyramid shaped. This way will hold about 10# of un-milled grain, but once you mill it even a little, you'll have to split it into two runs.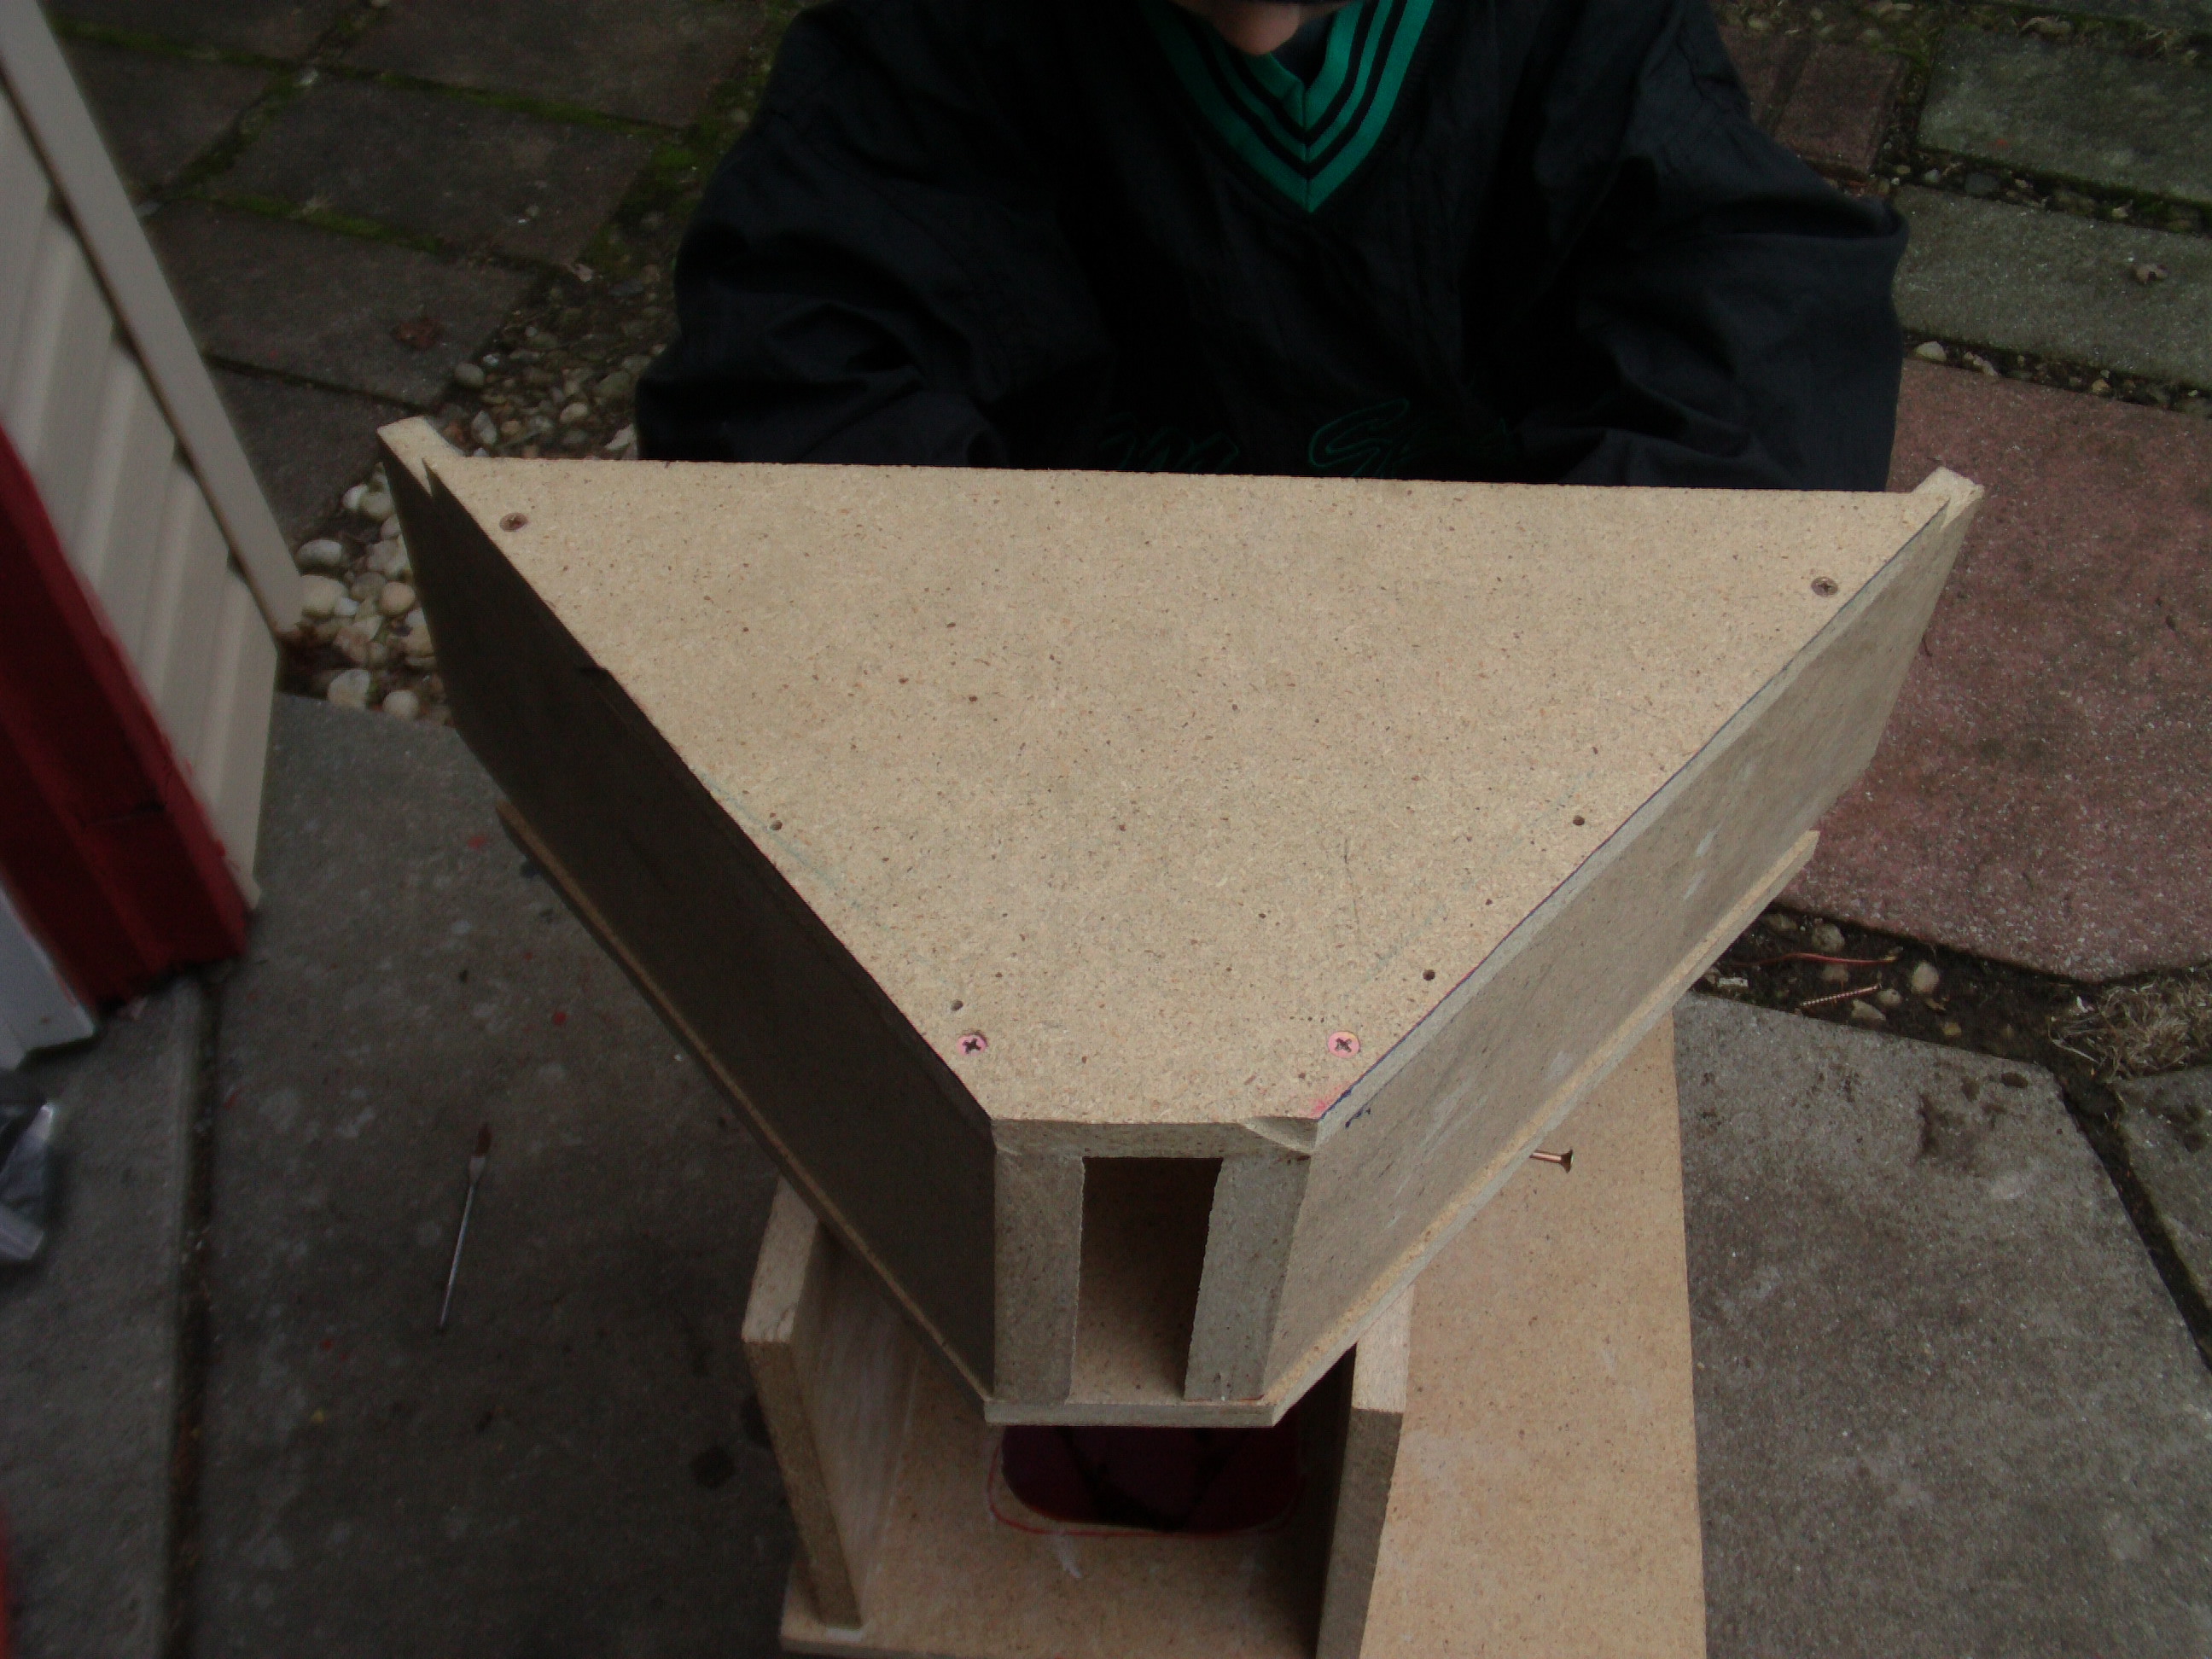
 The pinnacle of lame and awesome in one singular moment. -Lake
 -
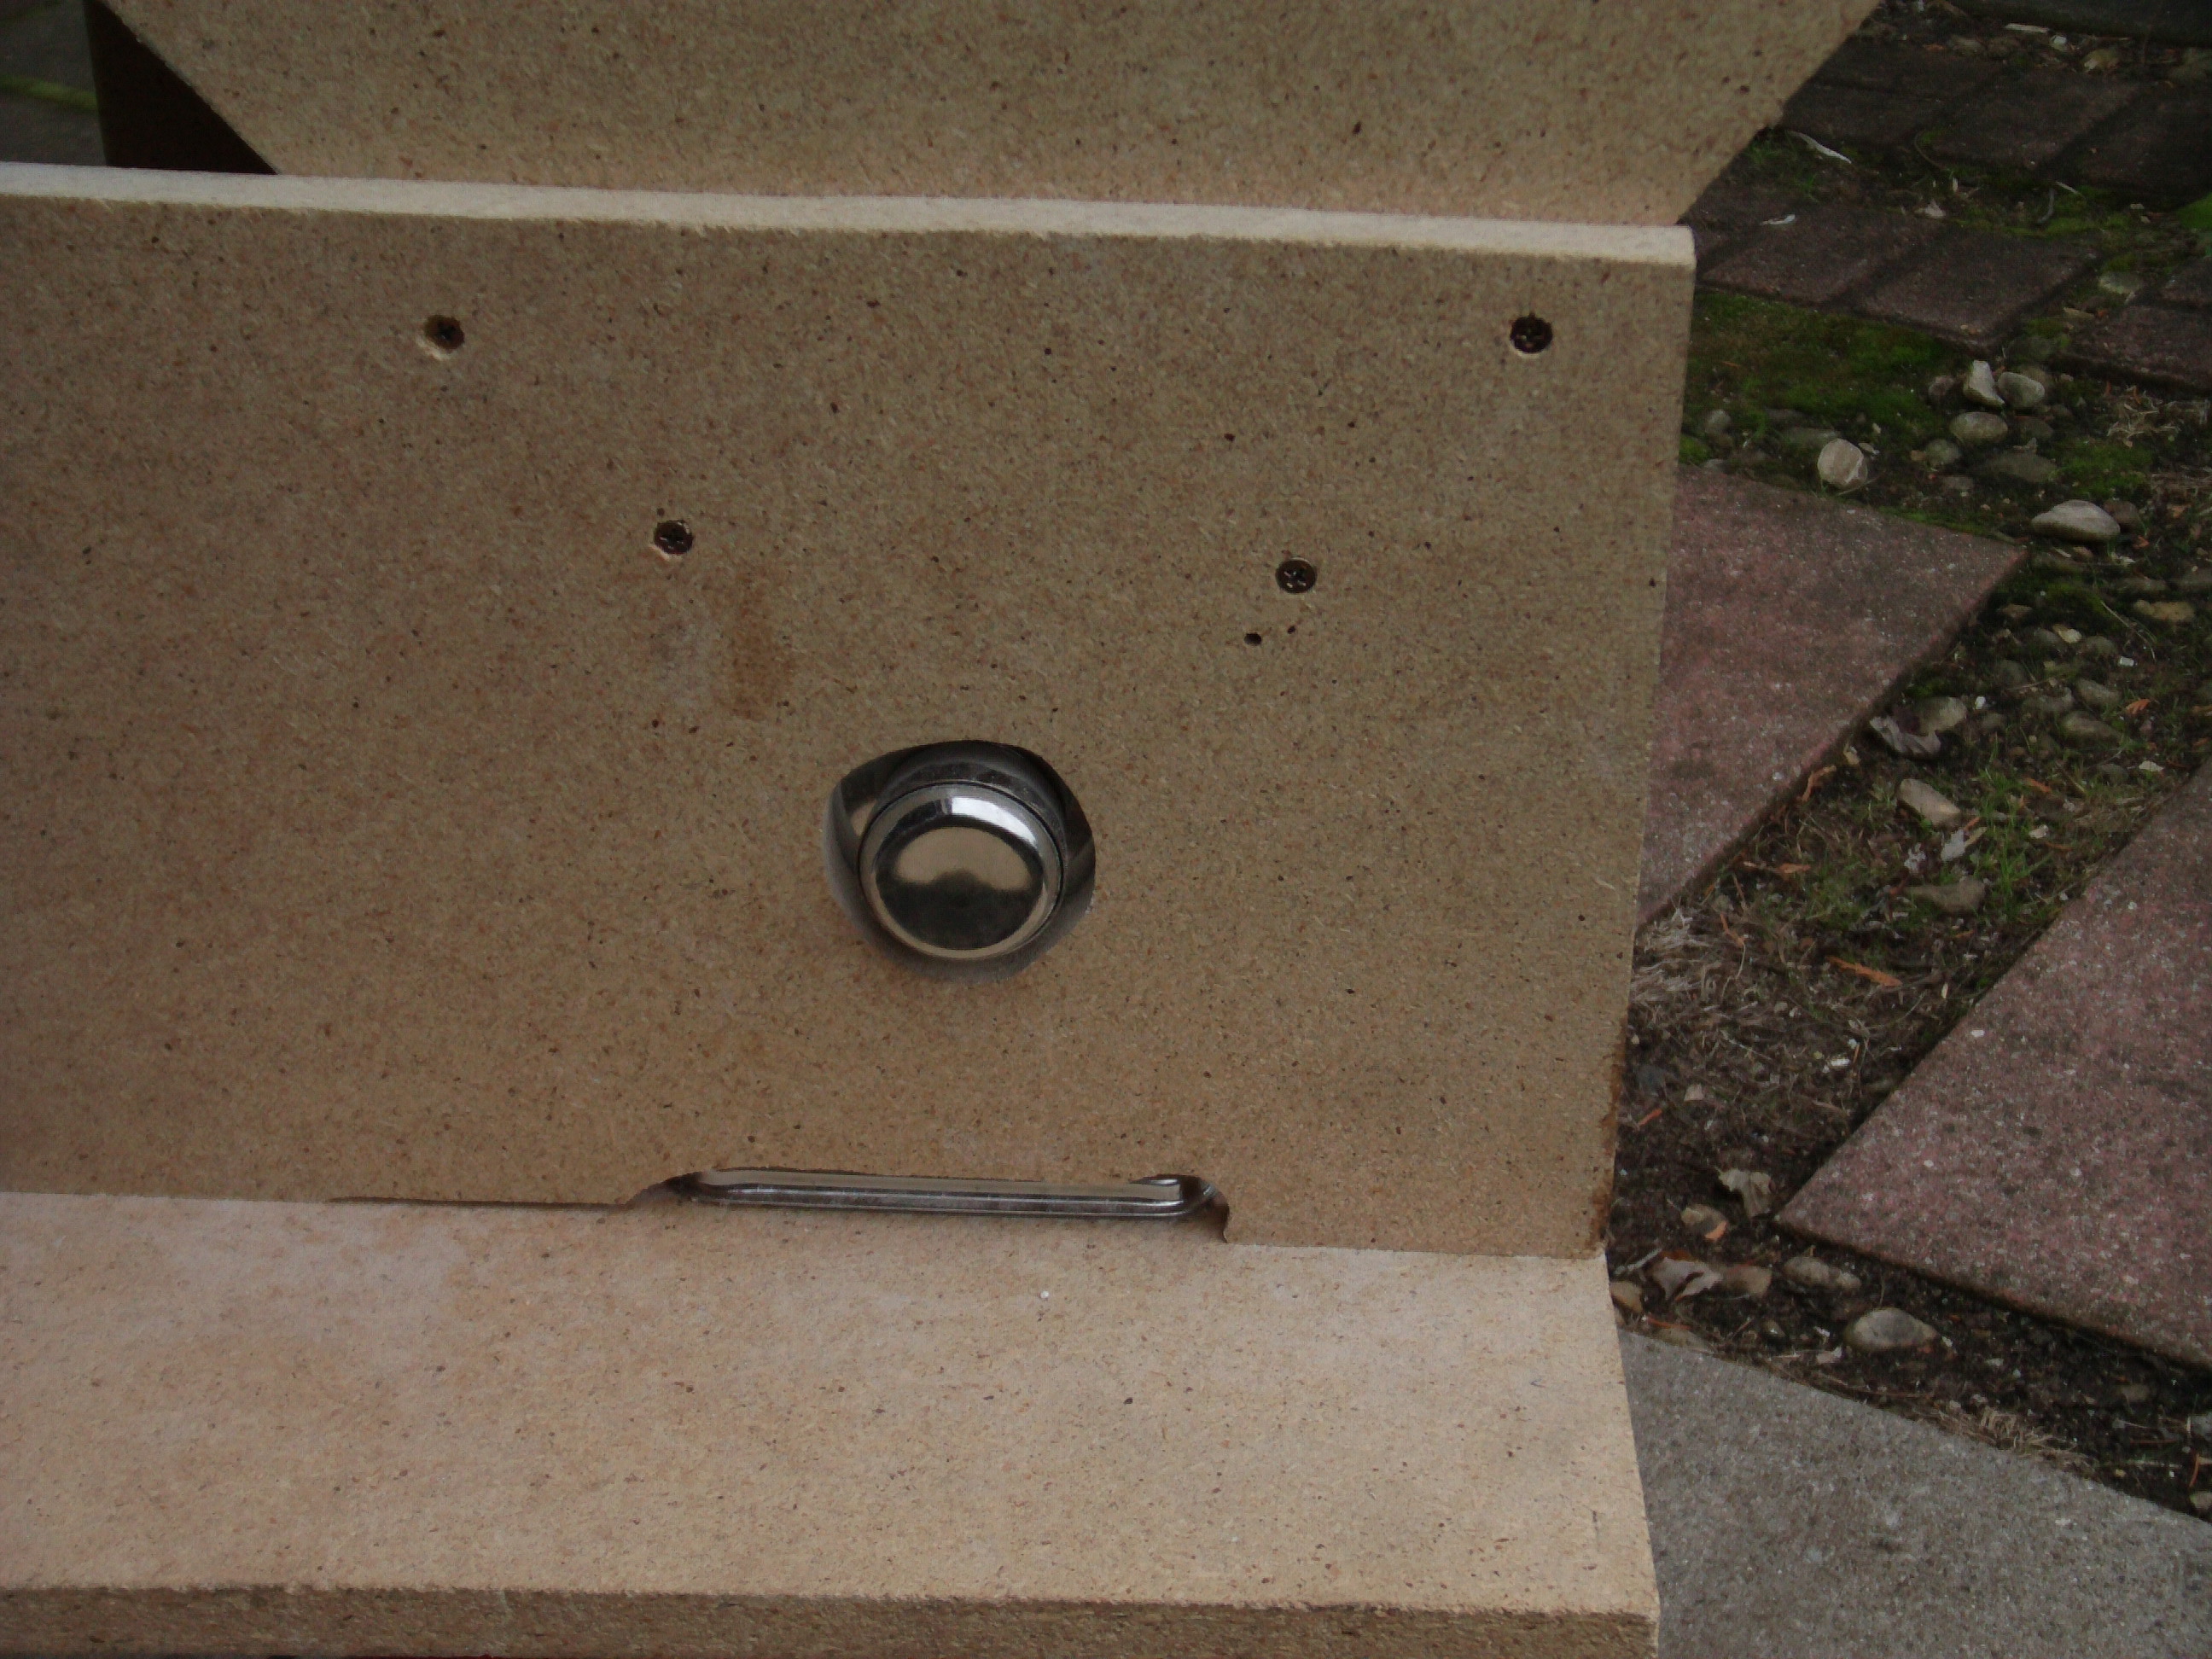
The hopper is screwed to the side pieces that hold the roller in place, this holds the top of them secure and keeps all the parts snug. You can see the gap adjustment knob.
With your mill all put together, now you'll need a way for the cracked grains to make it to the hole in the base. If you had removed the stand for the pasta roller, you could position it above the hole, but that's more work than I wanted to do. I just took a scrap piece of steel flashing I had and made a simple chute. You could use wood if you want, but this was the easiest way to do it.
I bent the top edge to snug into the frame of the roller and attached it with a little duct tape (not shown because it's ghetto). Here's the chute in place: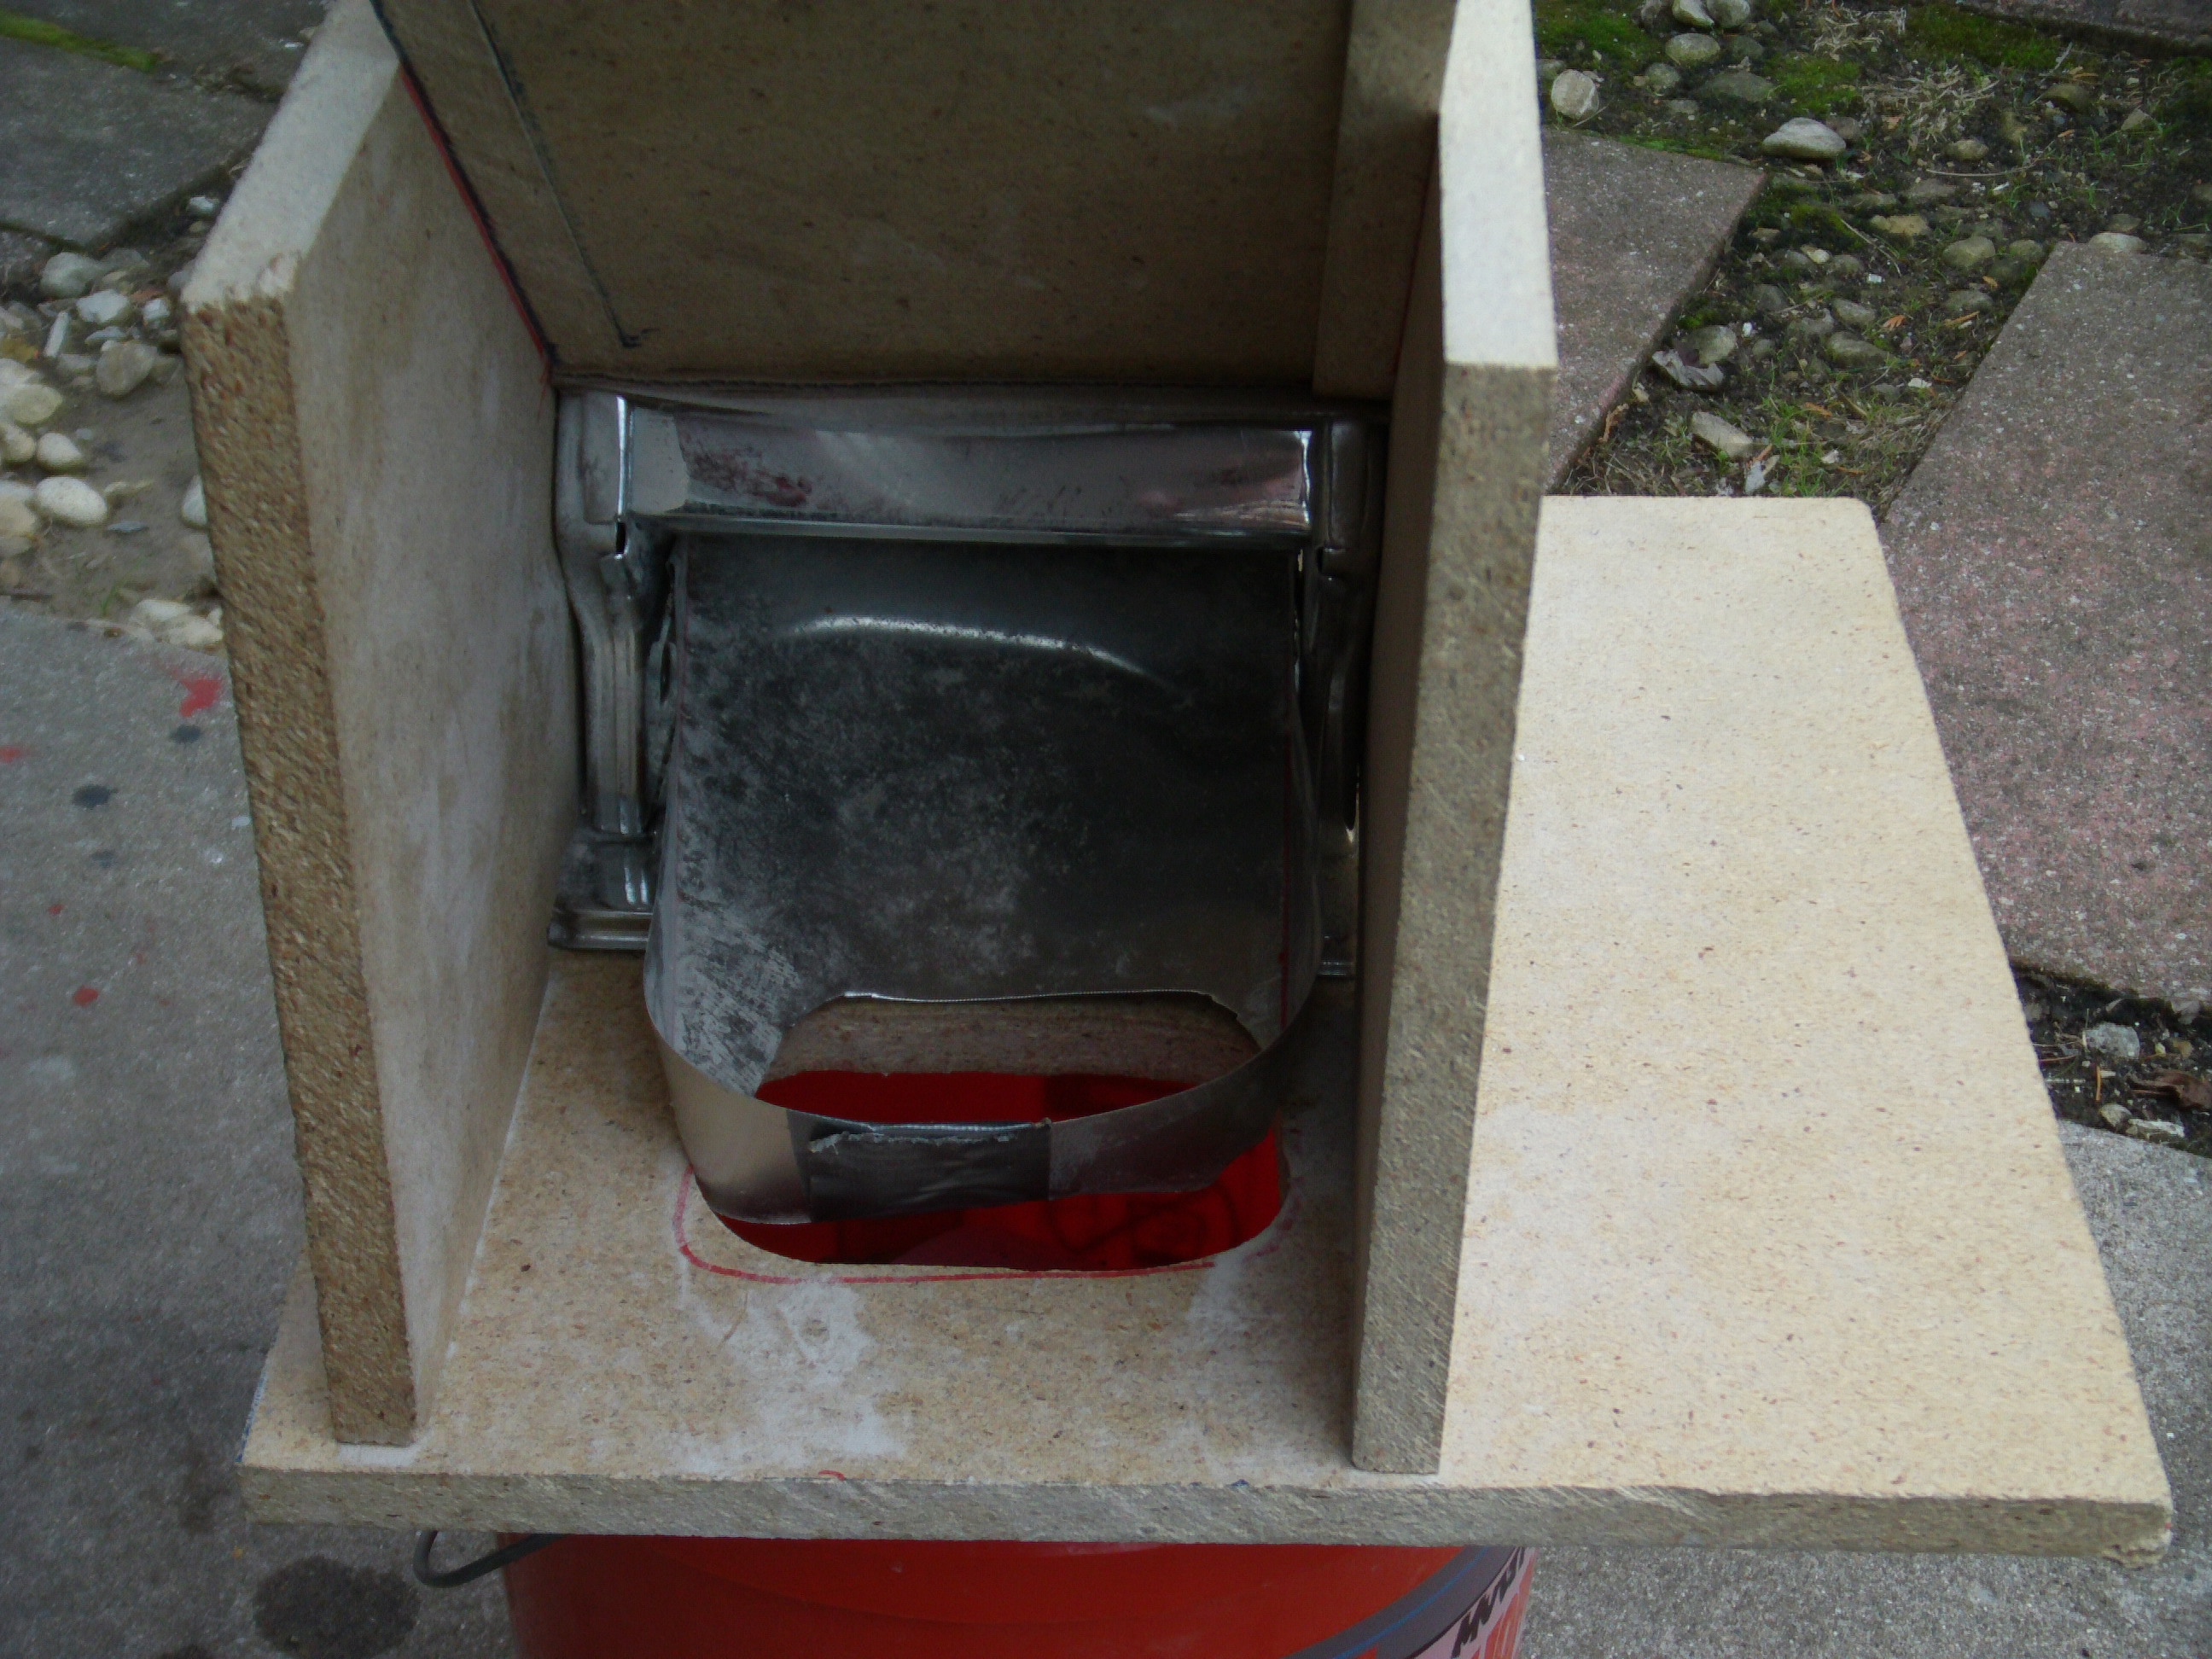
To run the mill, you could use the crank that comes with it, but that takes forever. I've found that a 3/8 wood boring bit works just fine.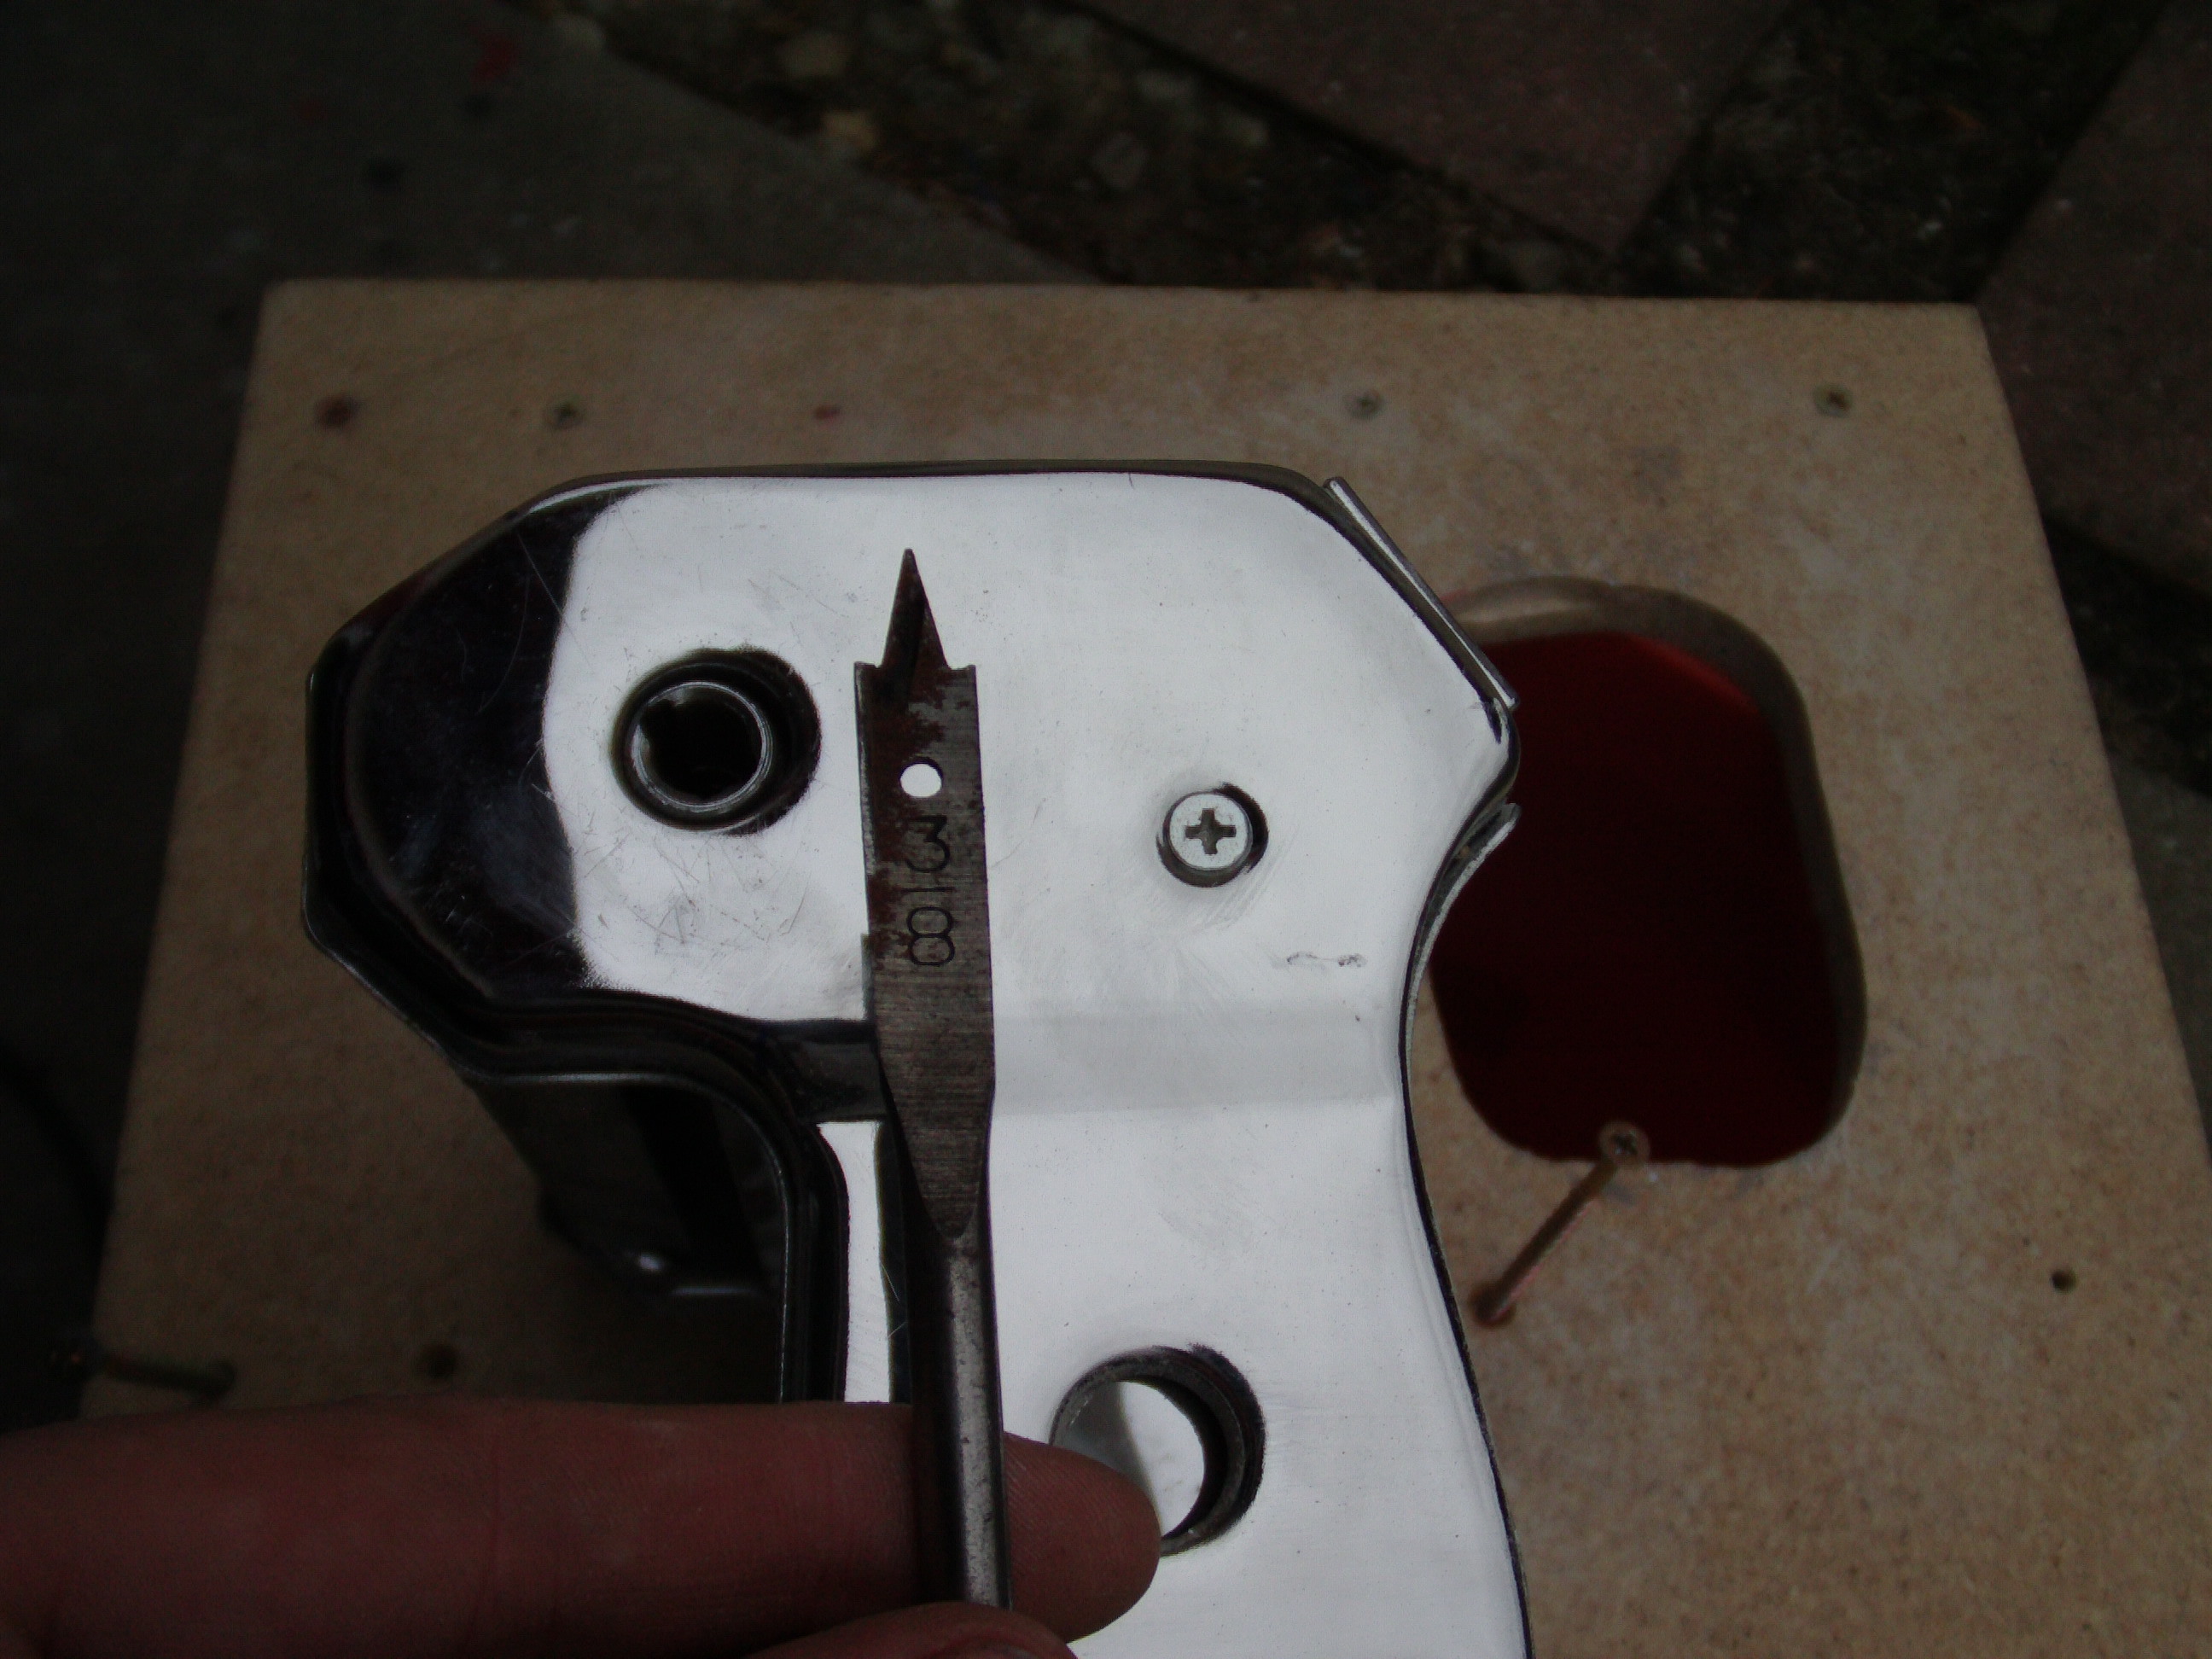

Here's a shot of the thing in action: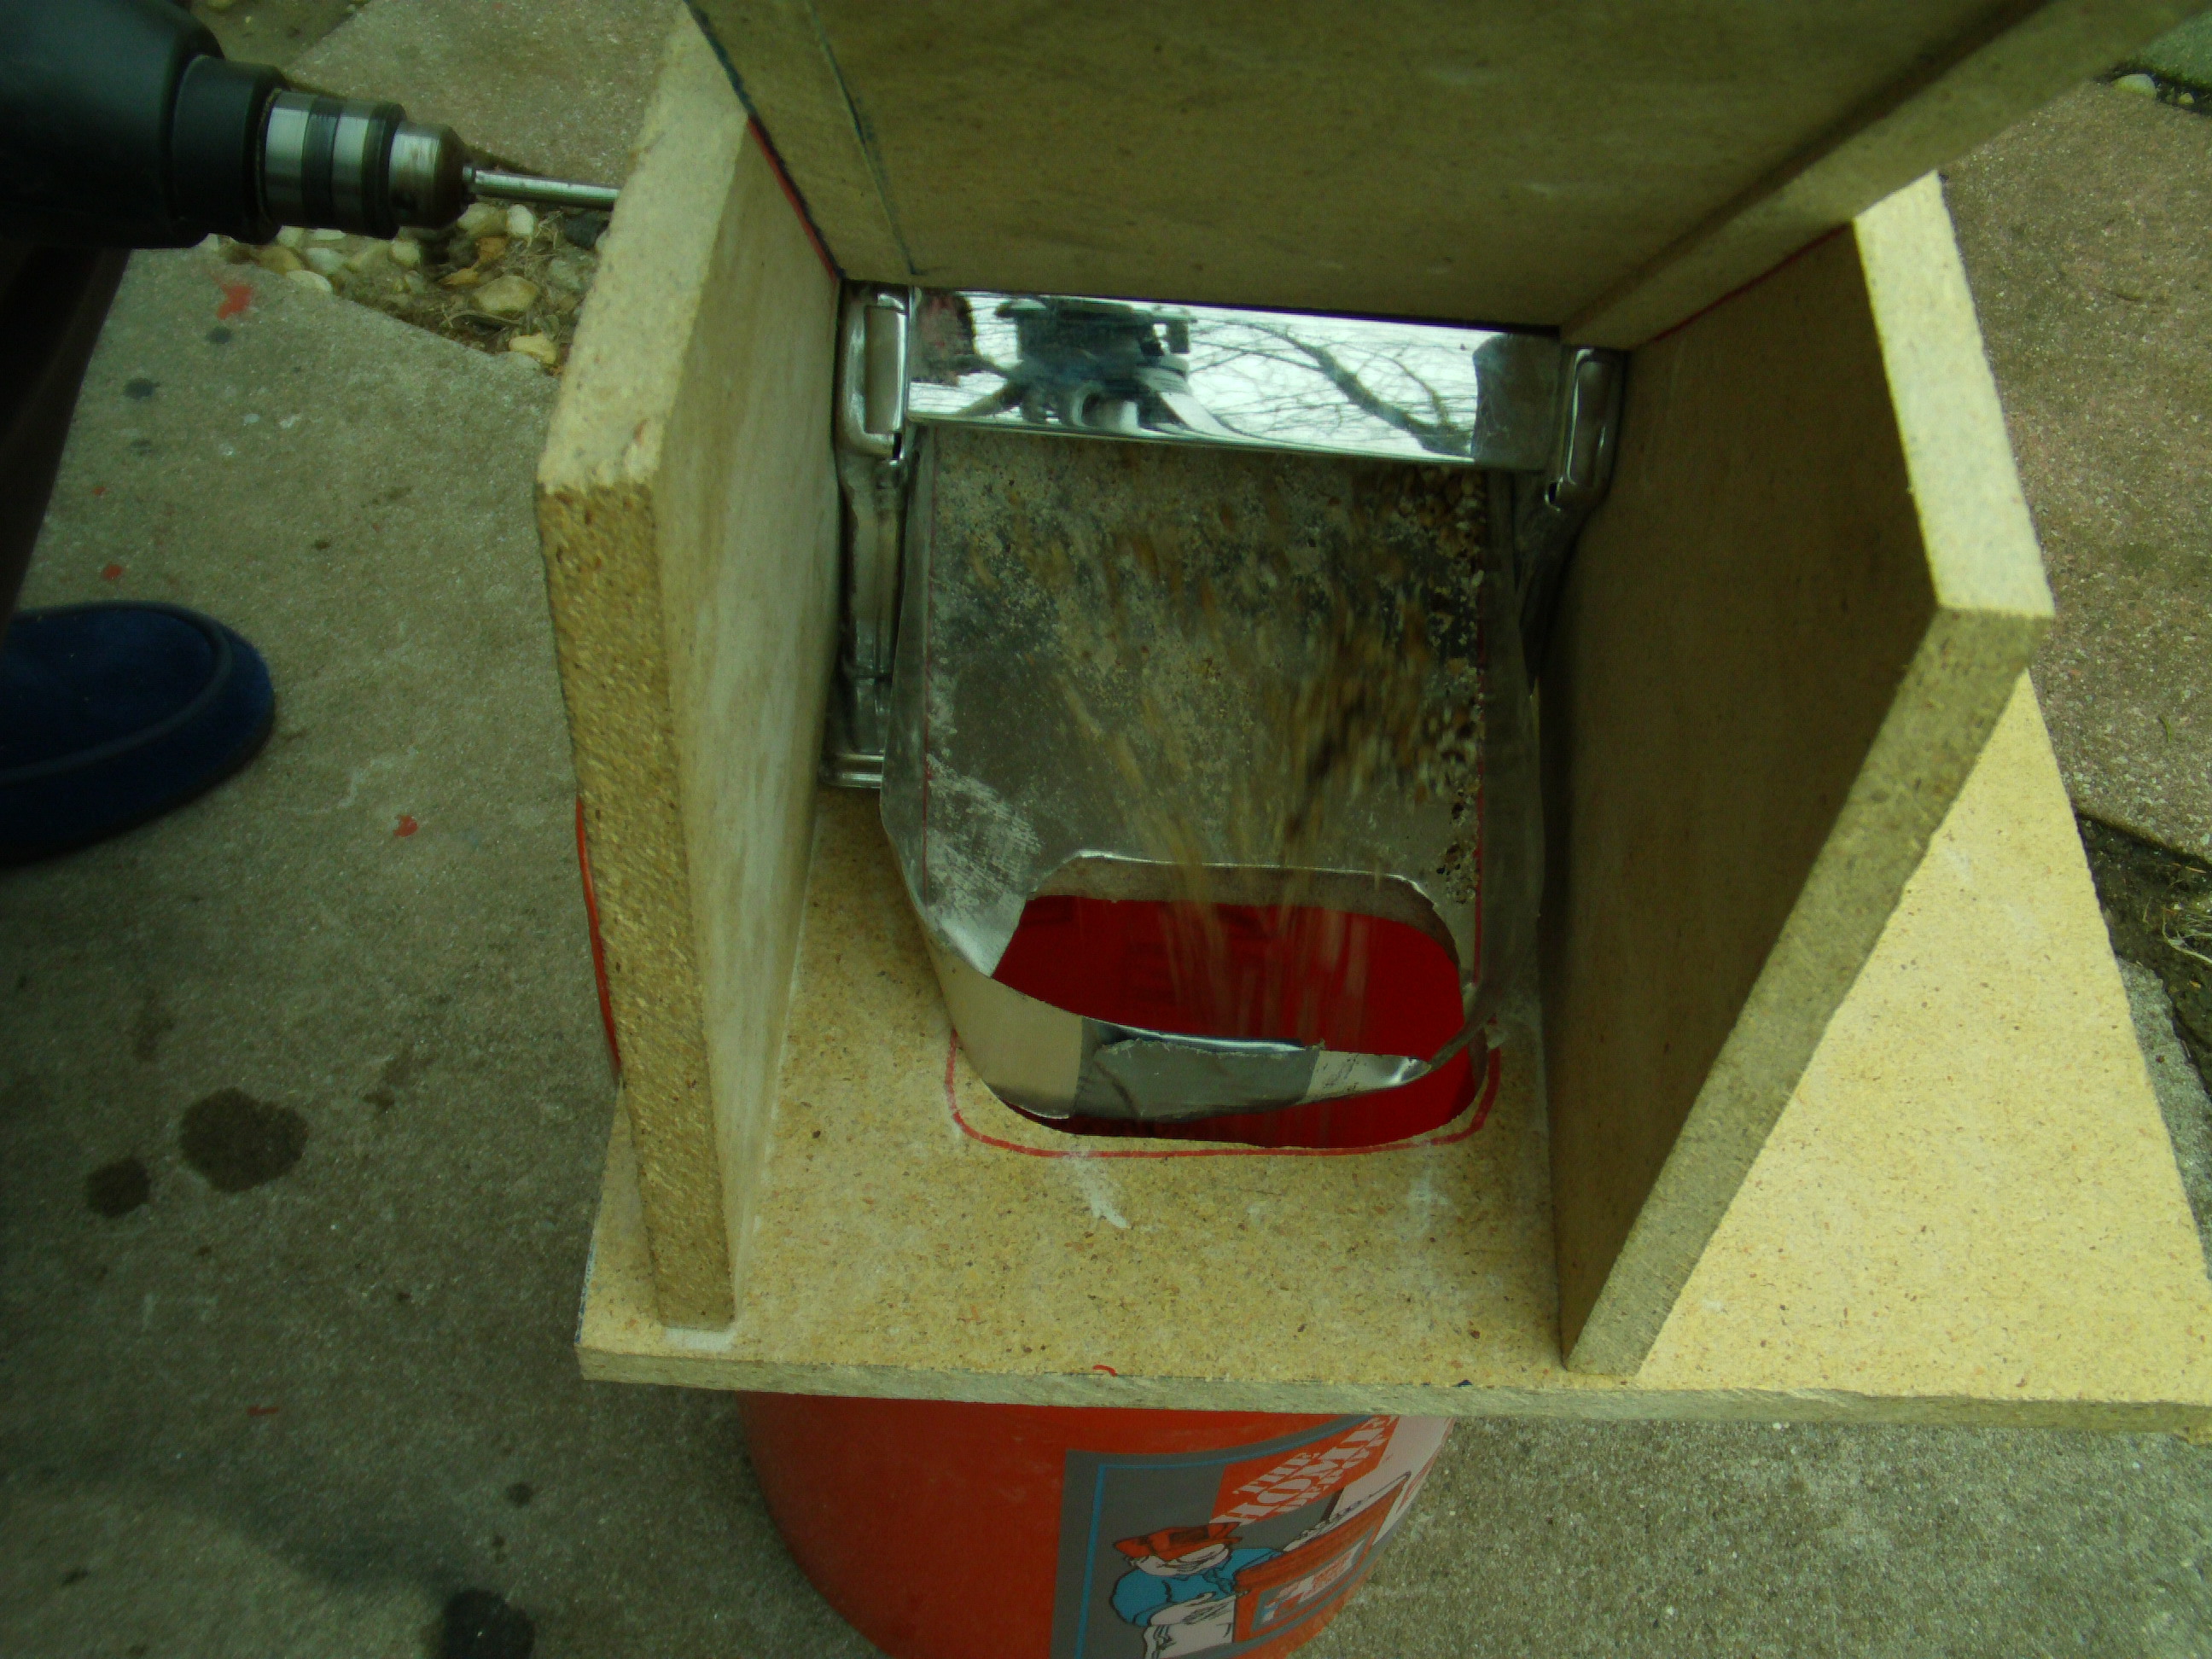
And here's a shot of the crush. I like to run it through on a wide gap once, then move to a medium, and run it a third time on a tight setting. If the rollers were roughed up a bit better, It would pull the grain through on a smaller gap easier, but this way works great for now.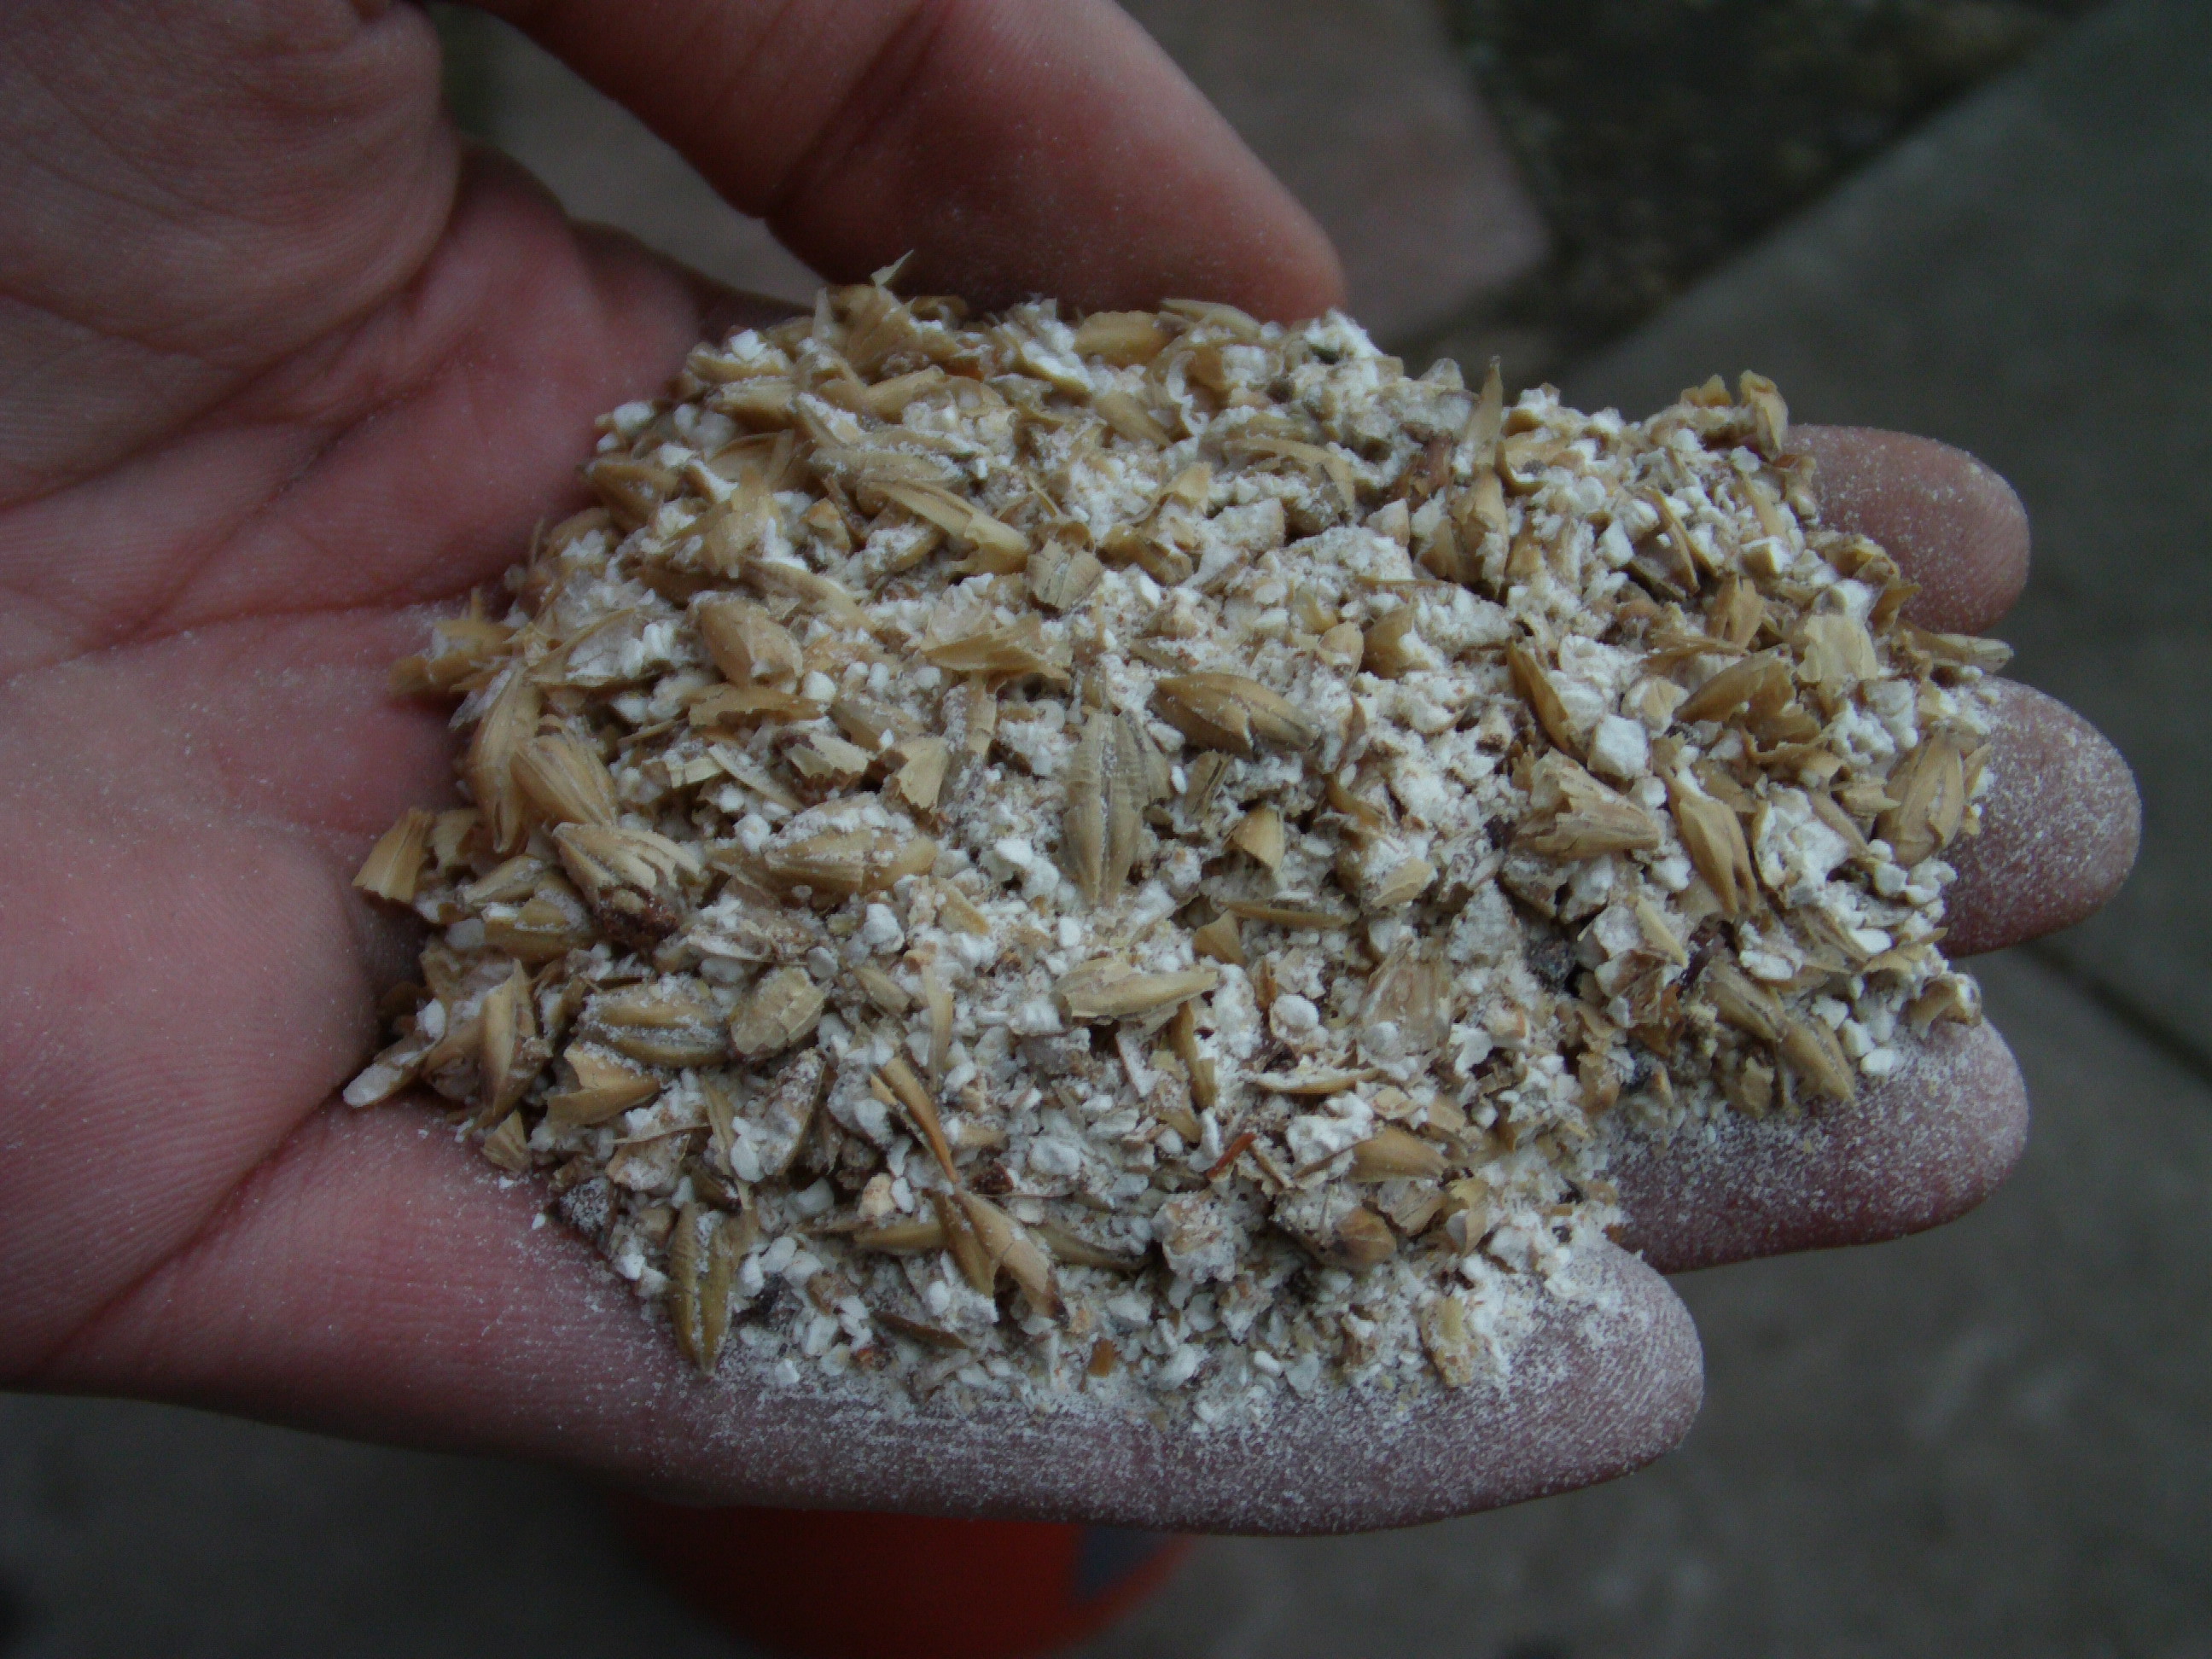 DSC00217.JPG2592 x 1944 - 1MDSC00233.JPG2592 x 1944 - 1MDSC00214.JPG2592 x 1944 - 1MDSC00221.JPG2592 x 1944 - 884KDSC00222.JPG2592 x 1944 - 1MDSC00235.JPG2592 x 1944 - 1MDSC00239.JPG2592 x 1944 - 1MThe pinnacle of lame and awesome in one singular moment. -Lake
 -
To slow the page down even more, here's the kid helpin out:
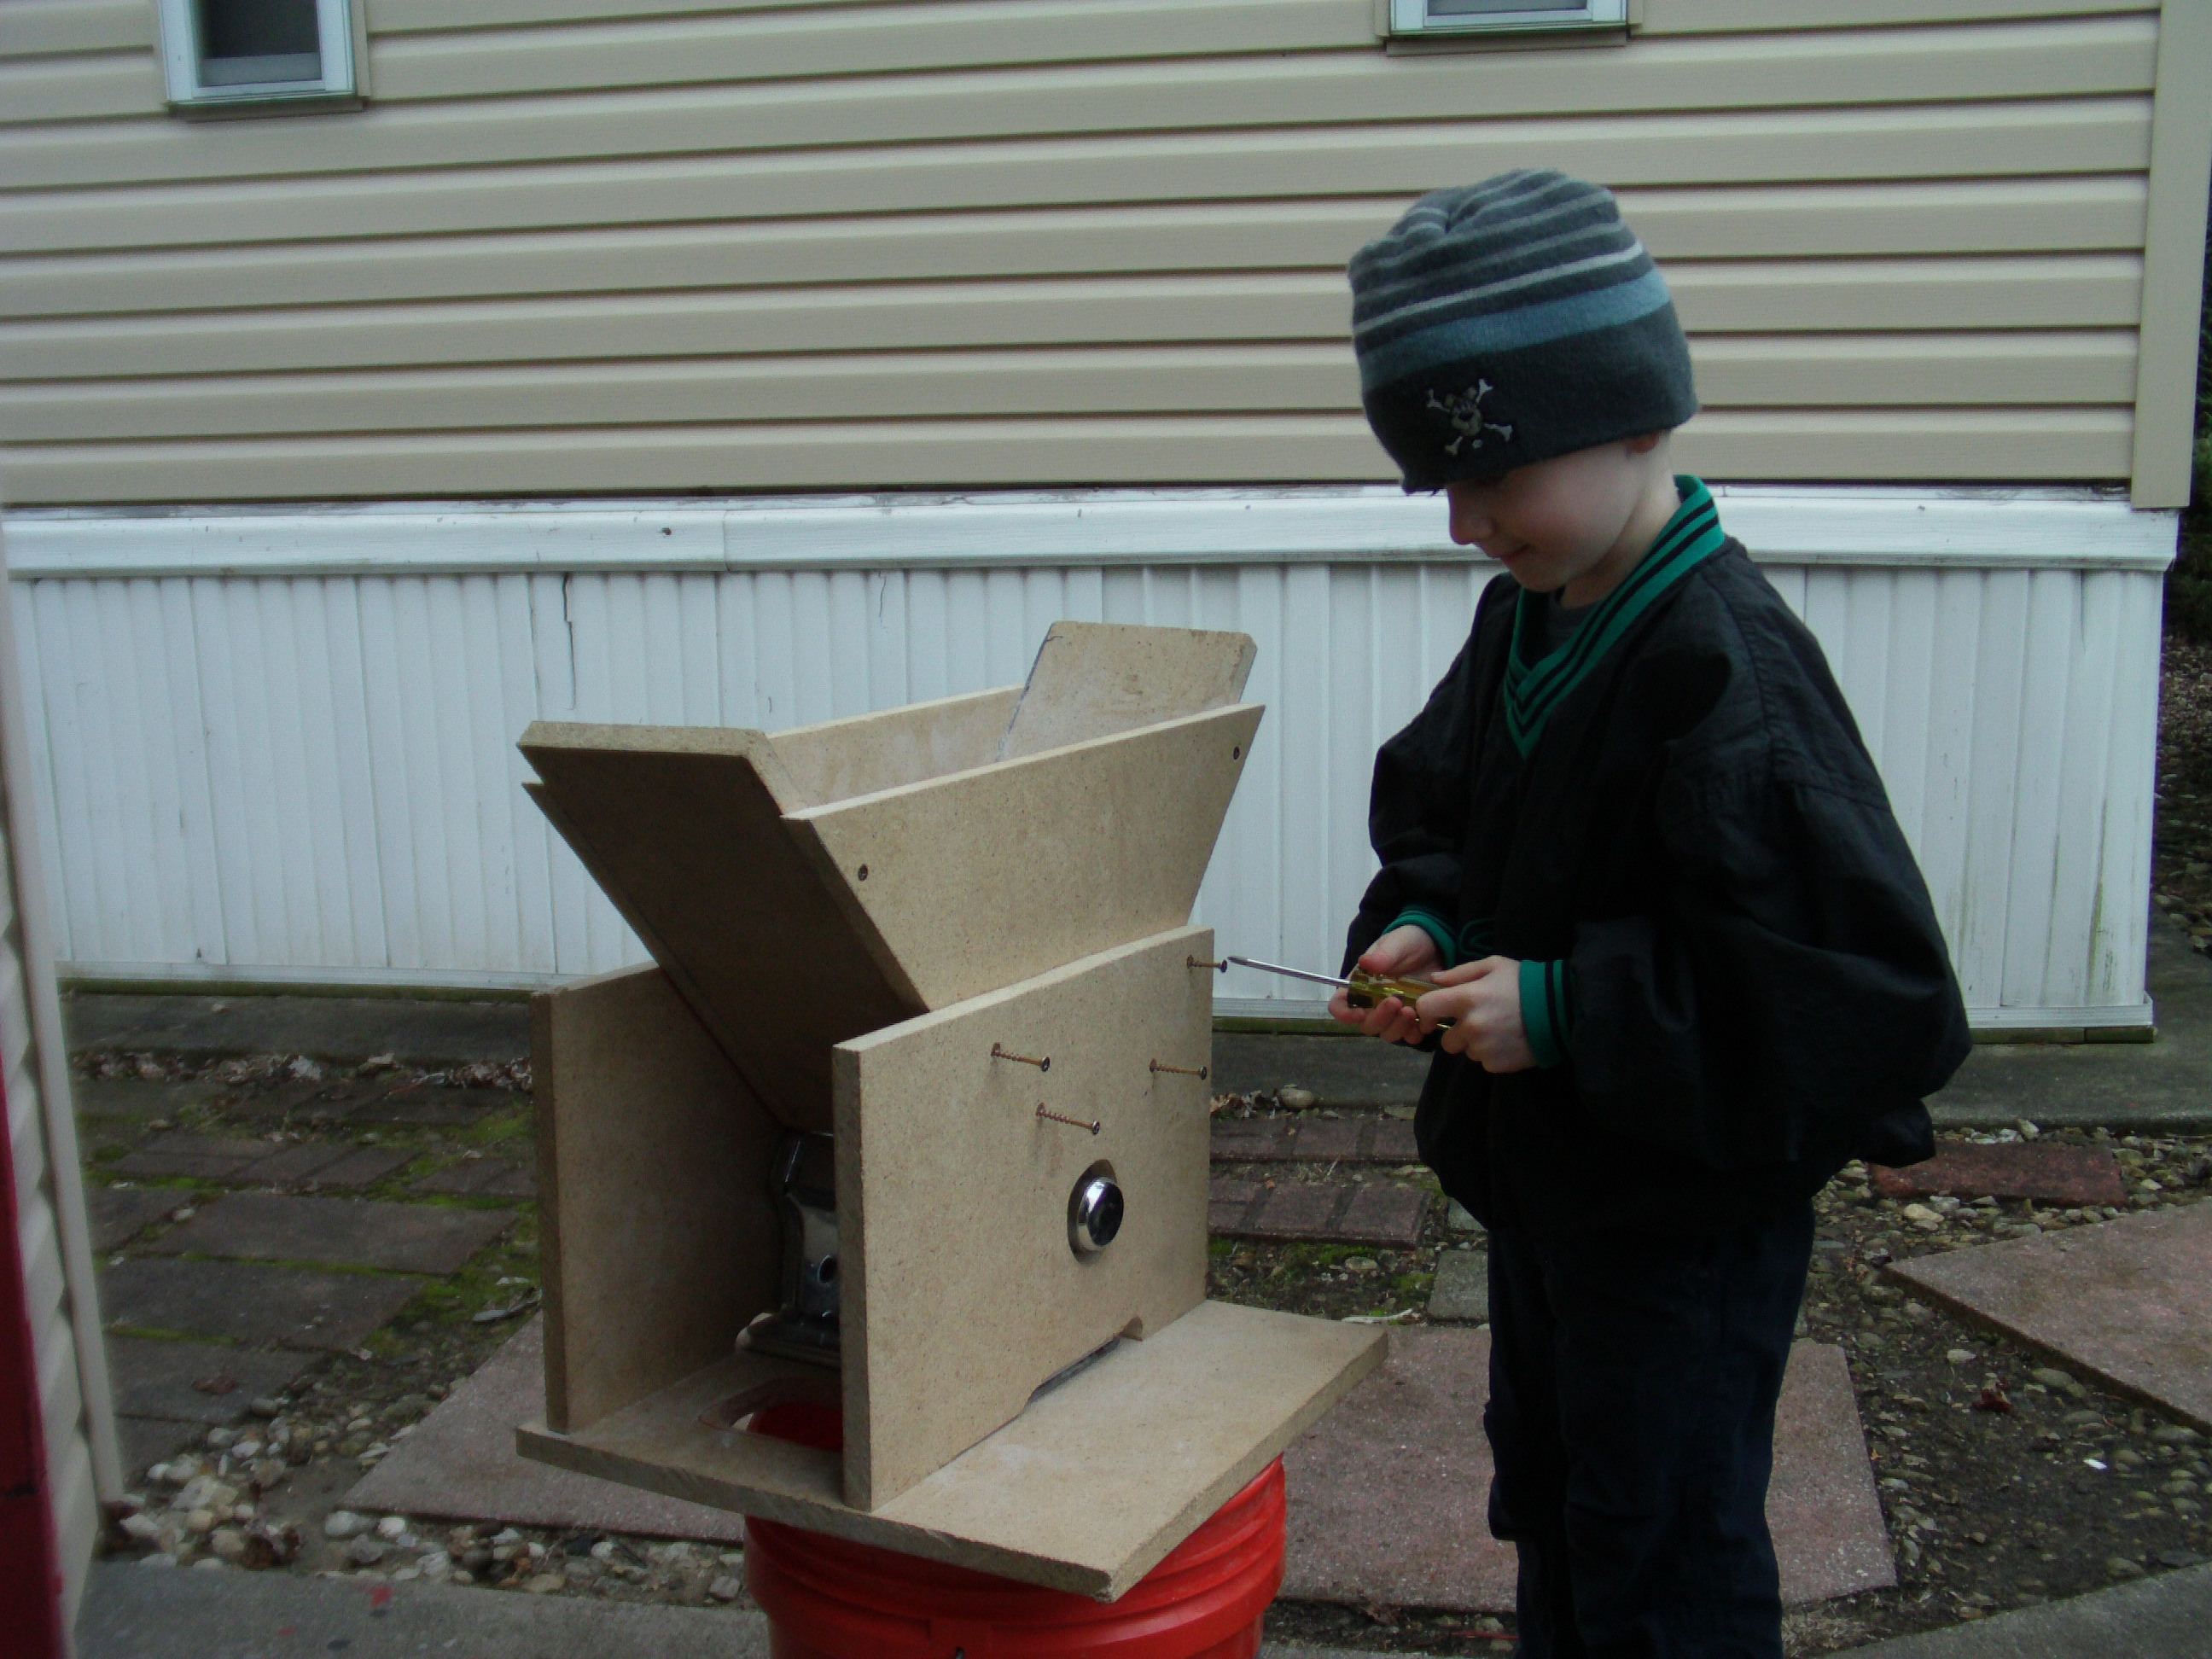
and stealing a bit of grain to chew on: DSC00229.JPG2592 x 1944 - 1MDSC00238.JPG2592 x 1944 - 1MThe pinnacle of lame and awesome in one singular moment. -Lake
 -
Nice write up, I love to see people getting the youth involved with projects like this.
-
i really hate it when people never update their old threads, so here's mine:
this thing is still working like a champ after who knows how many hundreds of pounds of grain. I started using the drill bit that i use to crank it as my rougher upper for the rollers and it works very well. Open it to the widest setting, stick mah drill in there and let the bit just bounce around and gouge at the rollers.
i like to clean them off after by running a pound or so of rice through it, but I'm not convinced it's even necessary.The pinnacle of lame and awesome in one singular moment. -Lake -
Good to hear it's still working well. Are the rollers pretty smooth naturally or are they losing their bite through use?The only thing between me and a train wreck is blind luck..... - Kenny
-
Lakewood said:
Good to hear it's still working well. Are the rollers pretty smooth naturally or are they losing their bite through use?
A little of both. I don't go too crazy on the roughing up, as I'm not really sure how thick the metal is. Once a year seems to be enough to keep things working well.The pinnacle of lame and awesome in one singular moment. -Lake -
I guess that's the main difference between the jsp mill I have and yours. The jsp rollers are massive hunks of knurled steel. They don't wear.
But yours costs a fraction of the jsp and has lasted long enough that it was clearly a win.The only thing between me and a train wreck is blind luck..... - Kenny


